Preferences
Privacy is important to us, so you have the option of disabling certain types of storage that may not be necessary for the basic functioning of the website. Blocking categories may impact your experience on the website. More information
Privacy is important to us, so you have the option of disabling certain types of storage that may not be necessary for the basic functioning of the website. Blocking categories may impact your experience on the website. More information

Google Consent Mode v2 explained: basic vs advanced, the four consent signals, gtag and GTM setup, the EEA rules and the errors that break measurement.

In short
Google Consent Mode v2 tells Google tags what each visitor chose: advertising cookies, analytics cookies, sending user data to Google for ads, and personalized ads. In basic mode, Google tags stay silent until the visitor answers the banner. In advanced mode, they load right away and send cookieless signals when consent is denied. If you have visitors in the EEA, the UK or Switzerland and you run Google Ads or Google tags, you must pass those choices to Google, through Consent Mode or the TCF.
Want to go further? Ask
Quick quiz
Is SEO right for you, and how should you start?
Sorank matches your answers


Test it for 3 days on your own site and see where you stand on Google, ChatGPT and the other AIs.
Start 3-day free trial3 days free, then stop whenever you want. 90-day results guarantee, conditions apply.
Consent Mode is a message channel between your site and Google tags. Your consent solution reports the visitor's choice, and each tag changes what it does with that choice. It does not show a banner, it does not store consent records, and it does not block scripts by itself. You still need a consent solution on the page. Consent Mode only makes Google tags read the answer.
Many teams confuse the two. They install Consent Mode, see no banner, and assume they are covered. A banner that never sends its answer to Google tags does nothing for Google. Check that both pieces exist before you move on.
Picture the flow in three steps. The visitor clicks Accept or Reject in your banner. Your consent solution calls gtag('consent', 'update', ...) with the matching values. Google tags read the new state and either set cookies, send full data, or stay in a cookieless mode. Consent Mode is what carries the answer to the tags.
Version 1 covered storage: whether Google tags could set advertising and analytics cookies. Version 2 added two signals on top of that. ad_user_data covers sending user data to Google for advertising. ad_personalization covers personalized advertising, such as remarketing audiences. A setup that only covers storage leaves these two signals undefined, and that gap is what the EU rules care about.
What you need to know before you start
Sources: Google Developers, Consent mode guide; Google Help with the EU user consent policy
Every Consent Mode setup works with the same small set of parameters. You send each one with a value of granted or denied. The mistake most people make is to set only the two storage signals and forget the two signals that v2 added. That leaves remarketing and enhanced conversions in an unclear state.
The table below maps each signal to what it controls and where you will notice it in your reports. Use it as a checklist when you review your configuration.
| Signal | What it controls | Where you notice it |
|---|---|---|
ad_storage | Advertising cookies set by Google tags | Google Ads conversion tracking and attribution |
analytics_storage | Analytics cookies set by Google tags | GA4 user and session data |
ad_user_data | Sending user data to Google for advertising | Enhanced conversions and audience signals |
ad_personalization | Personalized advertising | Remarketing and audience lists |
When ad_storage is denied, Google's developer documentation says new advertising cookies are not set. Third-party cookies on google.com and doubleclick.net are not used, except for spam and fraud. The full page URL is still sent. When analytics_storage is denied, URL passthrough can still send event and session-based analytics without cookies. So a denial does not mean zero data. It means less data, with fewer identifiers.
Signals to set on every page

Google offers two ways to run Consent Mode, as described in its consent mode concepts documentation. The difference is what happens to Google tags before and after the visitor decides. Pick the mode with that question in mind, not the name. The two modes behave very differently on a denied visit.
In basic mode, Google tags do not load until the visitor interacts with your consent banner. If the visitor rejects, nothing is sent to Google at all. Even the consent status is not transferred. Conversion modeling for Google Ads uses Google's general model, which is less detailed.
Basic mode is simpler to reason about. You can explain it to a lawyer in one sentence: no answer, no tag. The price is that you get no signal at all from visitors who reject, so there is nothing to model for them.
In advanced mode, tags load as soon as the visitor opens the site. Consent defaults to denied unless you set it otherwise. While consent is denied, tags still send measurements without cookies, and the consent state is sent with them. Conversion modeling uses an advertiser-specific model, which is more detailed.
Advanced mode is the better fit for teams that need modeled conversions from rejecting visitors. It is also the mode that needs the most careful setup, because the tags run before the visitor has chosen. A wrong default here sends data you did not intend to send.
When storage is denied, tags do not write cookies on the web or device identifiers in apps. They send pings instead: consent state pings, key event pings and Google Analytics pings. According to Google, these pings can include a timestamp, the user agent, the referrer, aggregate non-identifying data, consent state booleans and a random number generated on each page load. Google says these signals let Google Ads and Google Analytics model conversions and key events.
This is the part legal teams ask about. Google calls these signals cookieless, but they still carry some information about the visit. Write that down, and decide with your legal contact whether advanced mode fits your own policy.
Basic mode vs advanced mode on a rejected visit
There is more than one way to get Consent Mode running, and the right one depends on who maintains the site. Some teams have a developer and a single tag. Others run Google Tag Manager with ten vendors and a consent banner from a third party. The four methods below cover the setups we see most often. Read all four before choosing, because the wrong choice is expensive to change later.
You place the Google tag and the consent defaults in your site's code. This gives you full control and no extra layer. It also means you own every update. If the marketing team adds a new tag tomorrow, a developer must check that it reads the consent state.
Choose this when you have one or two Google tags, a stable site and a developer available. Avoid it when tags change every month.
Google Tag Manager (GTM) lets non-developers manage tags. You set the consent defaults with a consent initialization tag, and you send the consent updates from your banner through a tag or the data layer. Tags inside GTM then respect the consent state you set. The main risk is order: the default must exist before any tag that reads it runs.
Choose GTM when your team changes tags often and you already use it for analytics. Our full guide to Google Tag Manager explains the basic setup before you add consent on top.
Most sites use a CMP. It shows the banner, records the answer and sends the consent signal to Google tags. Google's policy says publishers must use a Google-certified CMP when they serve ads to EEA, UK or Swiss users. Advertisers must obtain consent before their tags fire, and they must pass the choices to Google.
A CMP is the right choice for most businesses because it covers the banner, the records and the signal in one product. Check that the CMP is on Google's list of certified partners and that its Consent Mode integration is turned on for your tags. A CMP that is installed but not connected to your tags does nothing. Our overview of the best cookie consent software compares the main options.
The Transparency and Consent Framework (TCF) from IAB Europe is an alternative way to pass consent to Google for EEA users. Google's policy says advertisers must send end-user consent choices to Google through Consent Mode or the TCF. For UK and Swiss traffic, Google does not expect a verified consent signal from you. The TCF is common on large publisher sites. Most small businesses do not need it.
If you already run a TCF-certified CMP, check its documentation before enabling Consent Mode too. Sending both signals without a plan causes conflicts that are hard to see.
| Method | Best for | Main risk |
|---|---|---|
| gtag.js in the page | One or two tags, stable site, a developer on hand | You own every change, and a tag that ignores consent goes unnoticed |
| Google Tag Manager | Frequent tag changes, a marketing team that works in GTM | The default fires too late for a tag that already ran |
| Certified CMP | Most businesses with a banner and EEA traffic | Installed but not connected to the Google tags |
| TCF | Large EEA publishers already on TCF | Two consent signals that disagree with each other |
This section walks through a direct gtag.js setup. If you use GTM or a CMP, the same logic applies, but the menus are different. Read the steps even if you use another method, because the order of the steps is the same everywhere.
The setup in five steps
The default tells Google tags what to assume before the visitor answers. Google's consent setup guide says to call it on every page, before any command that sends measurement data, such as config or event. Here is a default with all four signals denied, which is the safe starting point for EEA traffic:
gtag('consent', 'default', {
  'ad_storage': 'denied',
  'analytics_storage': 'denied',
  'ad_user_data': 'denied',
  'ad_personalization': 'denied',
  'wait_for_update': 500
});The wait_for_update parameter gives your consent tool time to call the update before tags fire. The value is in milliseconds. Google's guide uses 500 as the example, which means the tags wait up to half a second for your banner. Measure how long your banner takes to load on a slow mobile connection, then set the value a little above that.
Warning
A value that is too short lets tags fire with the default before your banner answers. The visitor's real choice then arrives too late for that tag. A value that is too long delays page measurement. Test both on a throttled connection.
When the visitor accepts or rejects, your consent solution sends the update. The update must carry every signal, not only the ones that changed. A rejected visitor gets all four denied. An accepted visitor gets all four granted, if you collect that consent.
gtag('consent', 'update', {
  'ad_storage': 'granted',
  'analytics_storage': 'granted',
  'ad_user_data': 'granted',
  'ad_personalization': 'granted'
});
Keep the names exact. A typo such as ad_user does not throw an error in most setups. The tag just never sees the signal, and nothing in your reports tells you.
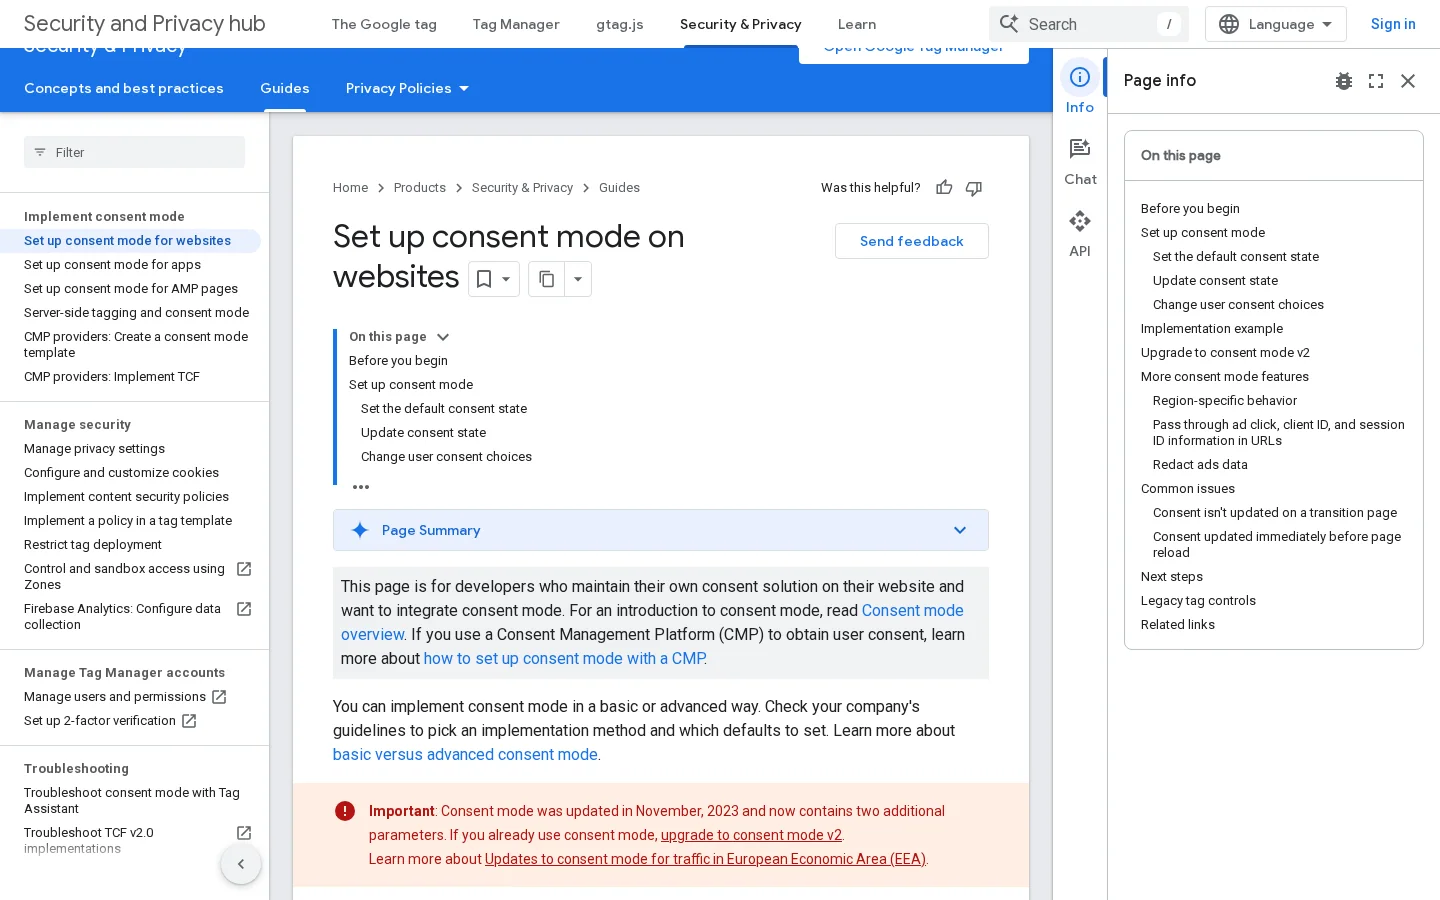
Regions let you set a different default for visitors in different places. Google's guide takes an array of ISO 3166-2 codes in the default command. A default without a region applies to everyone who is not covered by another region-specific command. When a country default and a subregion default conflict, the more specific one wins. So a visitor in a subregion gets the subregion value, not the country value.
gtag('consent', 'default', {
  'ad_storage': 'denied',
  'analytics_storage': 'denied',
  'ad_user_data': 'denied',
  'ad_personalization': 'denied',
  'region': ['FR', 'DE', 'ES']
});
Use regions when you want a strict default for European visitors and a looser one elsewhere. Do not use them to hide the EEA setup from the rest of your team. Write down which countries each default covers, and check the list whenever you open a new market.
Note
The region list above is an example. Build your own list from the countries where you have visitors. The Google policy covers the EEA, the UK and Switzerland, so a list with only France leaves the other regions on the general default.
Consent Mode is the technical side. The EU user consent policy, last updated by Google on 31 July 2024, is the legal side. Google enforces it on the accounts that use its tags. If you run Google Ads or Google Marketing Platform with visitors in the EEA, the UK or Switzerland, the policy applies to you, whether or not your company is based there.
The policy asks you to do four things: obtain consent before advertiser tags fire, disclose how personal data is used, keep records of consent, and make withdrawing consent easy. The sections below cover each one.
The policy applies to end users in the EEA, which means the EU member states plus Iceland, Liechtenstein and Norway, to users in the UK, and to users in Switzerland. Google's help page says advertisers must get consent for cookies, mobile identifiers and other local storage where the law requires it. It also says advertisers must get consent for personalized ads, such as remarketing. The consent should come before advertiser tags fire.
Publishers face a stricter rule. They must use a Google-certified CMP when they serve ads to these users. The policy reflects the GDPR and the ePrivacy Directive, so ask your legal contact to confirm which obligations apply to your setup.
Google's help page lists the disclosures. You must name every party, other than Google, that receives end users' personal data through your use of Google products. You must explain how personal data is used, including for ads personalization. You must link to Google's Business Data Responsibility site, on the consent notice, the first layer of your privacy policy, or under a "More Info" link. You must give clear instructions for withdrawing consent. Where you use IP addresses or fingerprinting for ads personalization or measurement, say so.
The policy does not dictate the exact choices you offer in your banner text. You can offer accept and reject, or a settings panel. Google's page says the choice must be real and the information clear.
Keep records of consent. Google's page says the record should include the text and choices the user saw, and the date and time of the affirmative consent. This is the part most small sites miss. A banner that works on screen but keeps no record is weak evidence in an audit.
Users must be able to withdraw consent as easily as they gave it. If accepting takes one click, rejecting or changing the choice later must take about the same effort. A link in the footer that opens the settings panel is the usual solution.
Google first contacts the partner about the issue and gives a reasonable time to fix it. If the partner does not engage or make a good-faith effort, Google may suspend audience features, including personalization and remarketing, and conversion measurement for the advertiser. The page also lists a timeline. Google's own dates show the policy was first introduced in 2015, and the page was last updated on 31 July 2024 to include Switzerland.
How the EU user consent policy changed, according to Google
Source: Google, Help with the EU user consent policy
Warning
The main risk is losing remarketing and conversion measurement while you fix the problem. Fix the consent notice, the records and the signal before you launch a new campaign in these regions.
A setup that looks right in the code is not proof. You need to see the signals arrive in the right order with the right values. Run these checks on a staging copy or on a live page you can test without affecting real visitors. Use a private browser window so cookies from earlier tests do not confuse the result.
Open Google Tag Manager's preview mode or Google's Tag Assistant on your page. Look at the consent state at the first page load. It must show the default values before any Google tag sends data. If a tag sends a hit before the consent state appears, the order is wrong. Move the default block above the tag, or set the consent initialization tag to fire first.
Click Reject in your banner, then reload. The signals should stay denied. Click Accept, then check that all four signals change to granted. If one of them does not change, your update call is missing that parameter. Fix it in the update block, not in the default.
For EEA traffic, the Google Ads Help page on verifying consent signals for EEA users explains the steps. It says to include the parameter values for ad_user_data when sending signals for regions that require end-user consent. Follow the steps on that page. Do not treat a green check in one tool as proof that the policy is met. Check the records as well.
Verification checklist
Most Consent Mode problems are silent. The page loads, the banner shows, and your reports look normal for a few weeks. The errors below are the ones we see most often. For each one, the sections explain what it is, how to spot it, and how to fix it.
What it is. The Google tag or GTM container loads before the default block runs. The tag reads the consent state before the default exists, so it does not follow the visitor's choice from the first hit.
How to spot it. In GTM preview, the consent state is missing or changes after the first hit. In Tag Assistant, the tag fires before the consent line appears. Your first page view shows full cookie use for rejected visitors.
How to fix it. Move the default block above the Google tag in the page. In GTM, use a consent initialization tag that fires before all other tags. Test with a rejected visit.
What it is. The banner records the choice, but nothing calls gtag('consent', 'update'). Google tags keep the default forever, which for a rejected visitor is often fine but for an accepted visitor means lost data.
How to spot it. Accept in the banner, then reload. The consent state still shows denied. Your conversions for accepted users drop without any change to the campaign.
How to fix it. Connect the banner's accept and reject events to the update call. If you use a CMP, enable its Google Consent Mode integration and check that it sends the update.
What it is. The setup sends ad_storage and analytics_storage but not ad_user_data or ad_personalization. This was enough in version 1 and is no longer enough for EEA traffic.
How to spot it. Remarketing audiences for EEA visitors stay empty or shrink without a clear reason. The consent state in preview shows two signals instead of four.
How to fix it. Add the two missing signals to both the default and the update. Test again with accept and reject.
What it is. The banner loads after the tags. Tags fire with the default denied, then the real choice arrives. The data sent in that gap follows the default, not the visitor's answer.
How to spot it. On a slow connection, the first hit shows denied even for visitors who accepted within seconds. Compare the first hit with the update timing in your network panel.
How to fix it. Add wait_for_update to the default. Set the value above your slowest banner load. Test on a throttled connection, not only on your office network.
The same page, before and after the fix
What it is. The site uses a single default for the whole world. Visitors in Europe get the same default as visitors in countries with no consent rule.
How to spot it. You check a visit from Paris and see the same default as a visit from Chicago. There is no region parameter in the default block.
How to fix it. Add a region array to the default for the EEA, UK and Switzerland. Keep a general default for the rest of the world. Document the list, because it changes when you enter a new market.
What it is. The banner works on screen, but it does not keep the text, the choice and the time of each consent. This is a policy gap, not a code bug.
How to spot it. Ask your consent solution for a record of one visitor's choice. If it cannot show the text they saw and the date and time of the affirmative choice, the records are missing.
How to fix it. Use a certified CMP that stores consent records, or set up your own storage with the text, choice, and timestamp. Review it with your legal contact.
Tip
Run a rejected test visit and an accepted test visit each week for the first month after any change. Most consent bugs show up only after a theme update or a new tag. A fixed weekly check catches them early.
Consent Mode changes what you see in reports. It does not hide the rest of your data. For accepted visitors, your reports look as they did before. For rejected visitors, you see less. Some of the gap comes back through modeling, which estimates conversions you did not observe. The model is only as good as the signals you send, so the errors above matter.
Expect your conversion numbers to shift after you launch Consent Mode, even when the business has not changed. Record the date of the change in your analytics notes, so a sudden drop does not look like a campaign failure. If you rely on conversion tracking for decisions, compare a week before and a week after the change, and read the modeled numbers with care.
Enhanced conversions use the same consent signals. If you also use them, read our guide to enhanced conversions in Google Ads, which covers the setup and the consent rules for that feature. This article is about the consent signals themselves.
For analytics, GA4 receives the analytics_storage state and uses it for cookies. The GA4 behavior around consent is covered in our guide to Google Analytics for SEO, which also explains how to measure organic and AI traffic when some visitors reject.
If you want to see Google traffic and AI traffic side by side while you watch these changes, Sorank's GEO / SEO dashboard puts both in one view. It does not replace your consent setup, and it does not change what Google tags receive. It only helps you read the traffic you do get.
If you have no Consent Mode setup yet, do the work in this order. Each step builds on the one before. Do not skip the testing week, because most errors only show up when a real visitor clicks a real button.
List every Google tag on the site and every vendor that receives personal data through those tags. Note which countries your visitors come from, using your analytics. Decide which regions need the strict default. This list is the basis for your disclosures and your region array.
Choose one of the four methods above. Place the default before any tag, set wait_for_update, and send all four signals on each choice. Run the verification checklist on a staging page, then on the live site. Store the consent records and document the setup, so the next person who edits the tags knows what they must not break.
The two-week rollout
Google Consent Mode v2 is a signal, not a banner. Basic mode waits for the answer and sends nothing on a rejection. Advanced mode loads tags, sends cookieless pings on a rejection and models conversions with a more detailed model. Pick the method that matches your team. Set all four signals, place the default first, and test both paths. Then keep the records that Google's policy asks for. Start with the checklist above and check it again next week.
Google's EU user consent policy requires advertisers with Google tags to obtain consent from users in the EEA, the UK and Switzerland, and to pass those choices to Google. You can do that through Consent Mode or the TCF. For many sites, Consent Mode is the simpler of the two.
In basic mode, Google tags do not load until the visitor answers the banner, and nothing is sent when the visitor rejects. In advanced mode, tags load on page open with consent denied by default, and they send cookieless pings while consent is denied. Advanced mode uses an advertiser-specific model for conversion modeling.
Consent Mode does not show a banner. It reports the visitor's choice to Google tags, so you need a consent solution on the page, either your own or a certified consent management platform. The consent must be obtained before advertiser tags fire.
We analyse your competitors, your website and your AI visibility to create a tailored content plan for free.
 AI Content Brief Generator
 FAQ Schema Generator
 AI Blog Post Ideas Generator
 Structured Data Validator (Schema Validator)
 Alt Text Checker
 Internal Link Analyzer
 Backlink Challenge
 AI Meta Description Generator
 AI Blog Title Generator
 Google Indexability Checker
 AI Blog Outline Generator
 UTM Link Builder
 Keyword Clustering Tool
 Canonical Tag Checker
 XML Sitemap Generator
 Broken Link Checker
 AI SEO Title Generator
 Headline Analyzer
 SERP Preview Tool
 Redirect Checker
 Hreflang Tag Generator
 Heading Structure Analyzer
 HTTP Headers Checker
 Favicon Extractor
 SERP CTR Calculator
 SEO vs Paid Search Savings Calculator
 SEO Share of Voice Calculator
 SEO ROI Calculator
 SEO Traffic and Revenue Forecast Calculator
 SEO Budget Calculator
 SEO Break-Even Calculator
 SaaS SEO ROI Calculator
 ROAS Calculator
 Reading Time Calculator
 Ranking Gain Simulator
 Organic Traffic Value Calculator
 Organic Traffic Estimator and Website Traffic Checker
 LTV to CAC Ratio Calculator
 Local SEO ROI Calculator
 Link Building Cost Calculator
 Keyword Value Calculator
 Keyword Opportunity Score Calculator
 Keyword Density Calculator
 GEO ROI Calculator
 GEO Content Investment Calculator
 Ecommerce SEO ROI Calculator
 Customer Lifetime Value Calculator
 Customer Acquisition Cost Calculator
 CTR Calculator
 Cost Per Article Calculator
 Conversion Rate Calculator
 Content Marketing ROI Calculator
 ChatGPT Referral Traffic Estimator
 Bounce Rate Calculator
 Backlink ROI Calculator
 AI Visibility Score Calculator
 AI Traffic Value Calculator
 AI Share of Voice Calculator
 Cost of AI Invisibility Calculator
 AI Citation Rate Calculator
 llms.txt Validator
 AI Overview Checker and AI Overviews Rank Checker
 Robots.txt Checker
 AI SEO Audit
 LLM Readability Checker
 SearchGPT Readiness Checker
 Structured Data LLM Audit
 Website Crawlability AI Audit
 Why ChatGPT Is Not Recommending My Website
 Gemini Ranking Tool
 Perplexity Ranking Checker
 LLM Citation Checker
 Answer Engine Optimization Audit
 GEO Audit
 AI Search Visibility Test
 ChatGPT Visibility Checker
 llms.txt Generator
 URL Extractor
 Webpage to Markdown
 Sitemap Checker
 SERP Volatility Sensor
 Page Size Checker
 Word Counter
 Slug Generator
 Schema Generator
 Robots Generator
 OG Preview
 Meta Tags Generator
 Image Compressor
 Favicon Generator
 On-Page SEO Audit: SEO Checker and SEO Analyzer
 Backlink Analysis Tool
 Keyword Research Tool
 Domain Authority Checker
 “I tested Sorank on a real client site and it's insane. It does everything an agency would bill you $1500 a month for. It's going into production on that client now.”

 Guillaume Guersanguersanguillaume.com“We are an Ads agency and we wanted to get our SEO back on track once and for all. Sorank gave us a clear view of our site, helped us prioritize optimizations, and properly structure our content. The tool is easy to use, well designed for a team, and very practical for centralizing tracking without having to juggle multiple platforms. A very solid foundation to start fresh with our SEO.”
 Gaspard MadouiAds Agency
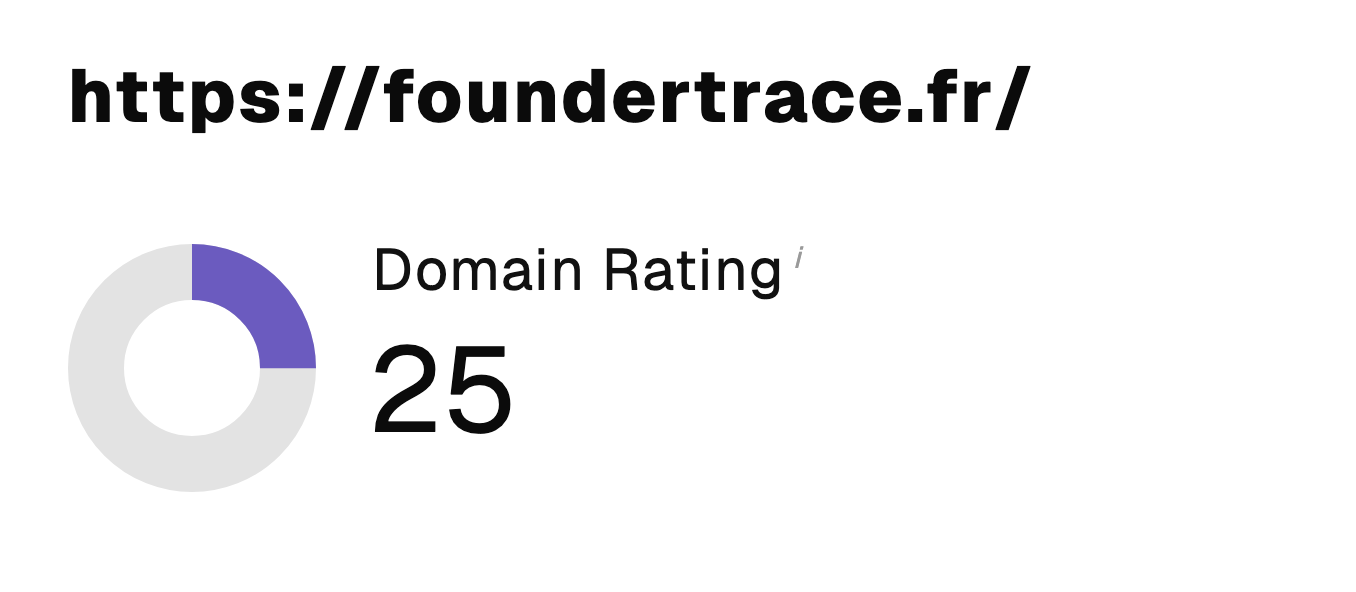 “I just let the Sorank software do its thing, and now my DR is 25 and my page is ranking higher.”
 Lucas Flandrefoundertrace.fr“I specialized in GEO thanks to Sorank. The GEO Leaderboard allows me to show my clients their position vs competitors on ChatGPT. It’s a real commercial differentiator.”
 MélanieSEO Freelance“Great service, works well for our website and helps us understand how to improve it to rank better on Google and elsewhere. Congrats, keep going, I recommend it.”
 Hugo T.E-commerce merchant