
Competitor Analysis
At the top of the editor, you’ll find the Competitor Analysis section. This shows you exactly what the AI studied before writing your article, so you can audit the sources and double-check the data behind every recommendation.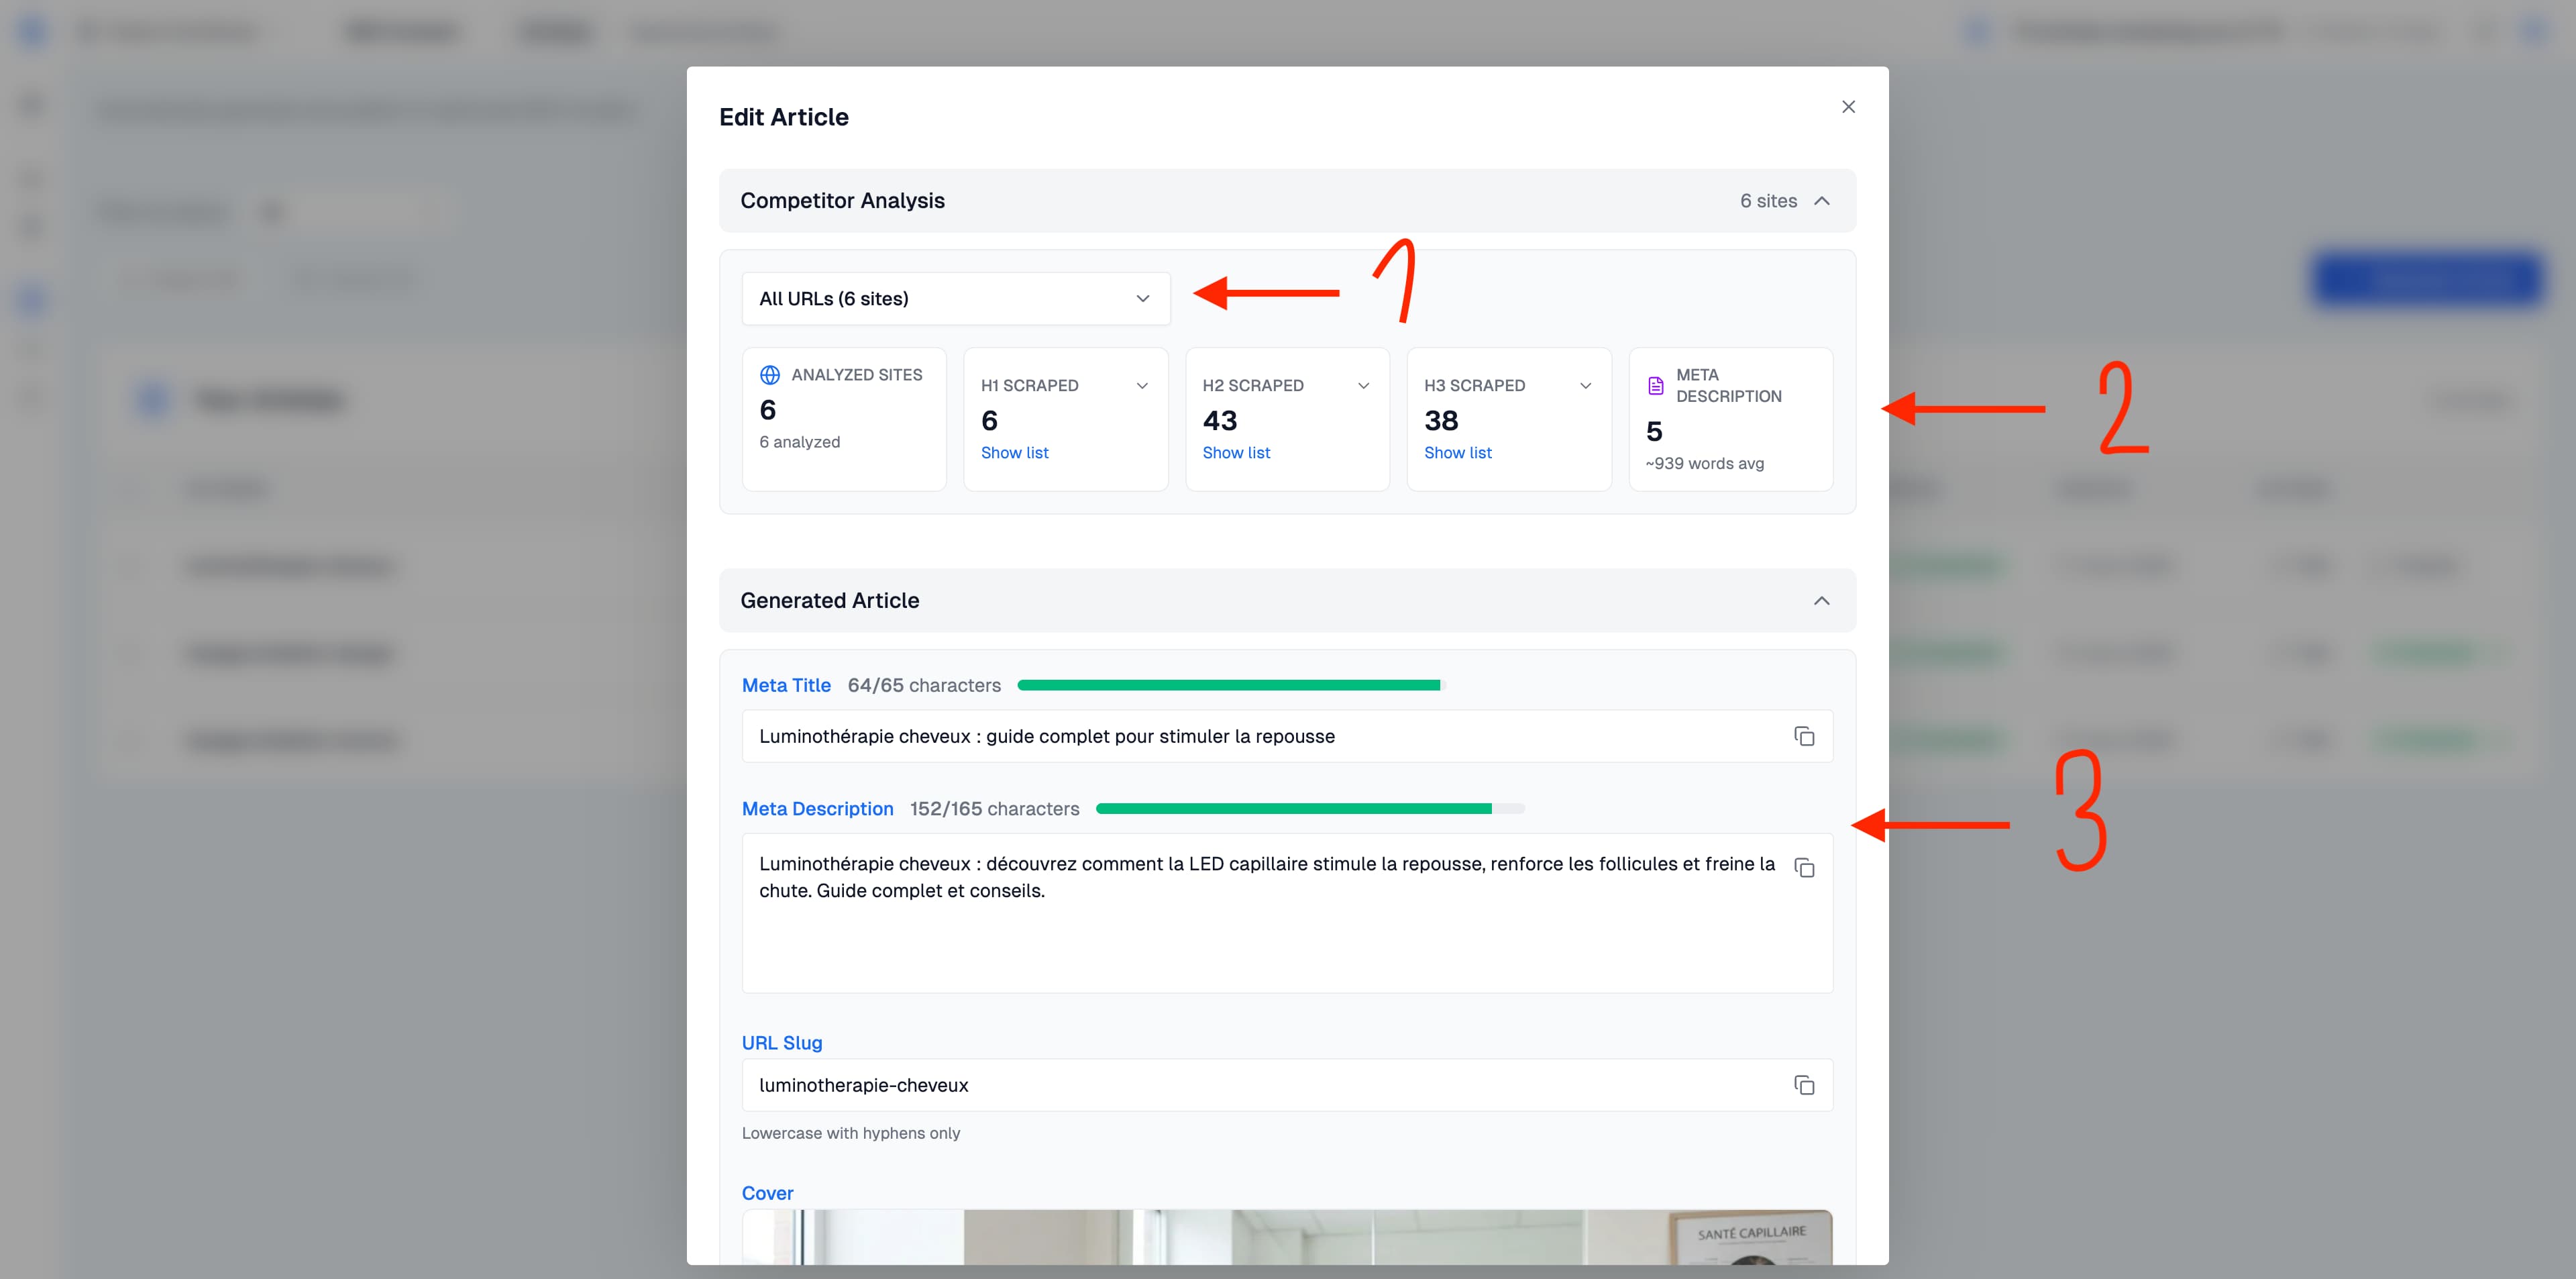
- The All URLs dropdown shows which competitor pages were analyzed. You can filter to see the data from individual competitors.
- The Scraped data section reveals that the AI analyzed 6 competitor sites, scraped their H1, H2, H3 headings and meta descriptions to understand the content landscape and structure its article accordingly.
Generated Meta Tags
Below the competitor analysis, you’ll see the generated SEO elements:- Meta Title, optimized for length (shown with a character count and progress bar, e.g. 64/65 characters).
- Meta Description, a compelling summary targeting 120 to 165 characters for optimal display in search results.
- URL Slug, a clean, lowercase, hyphenated URL path ready for publishing.
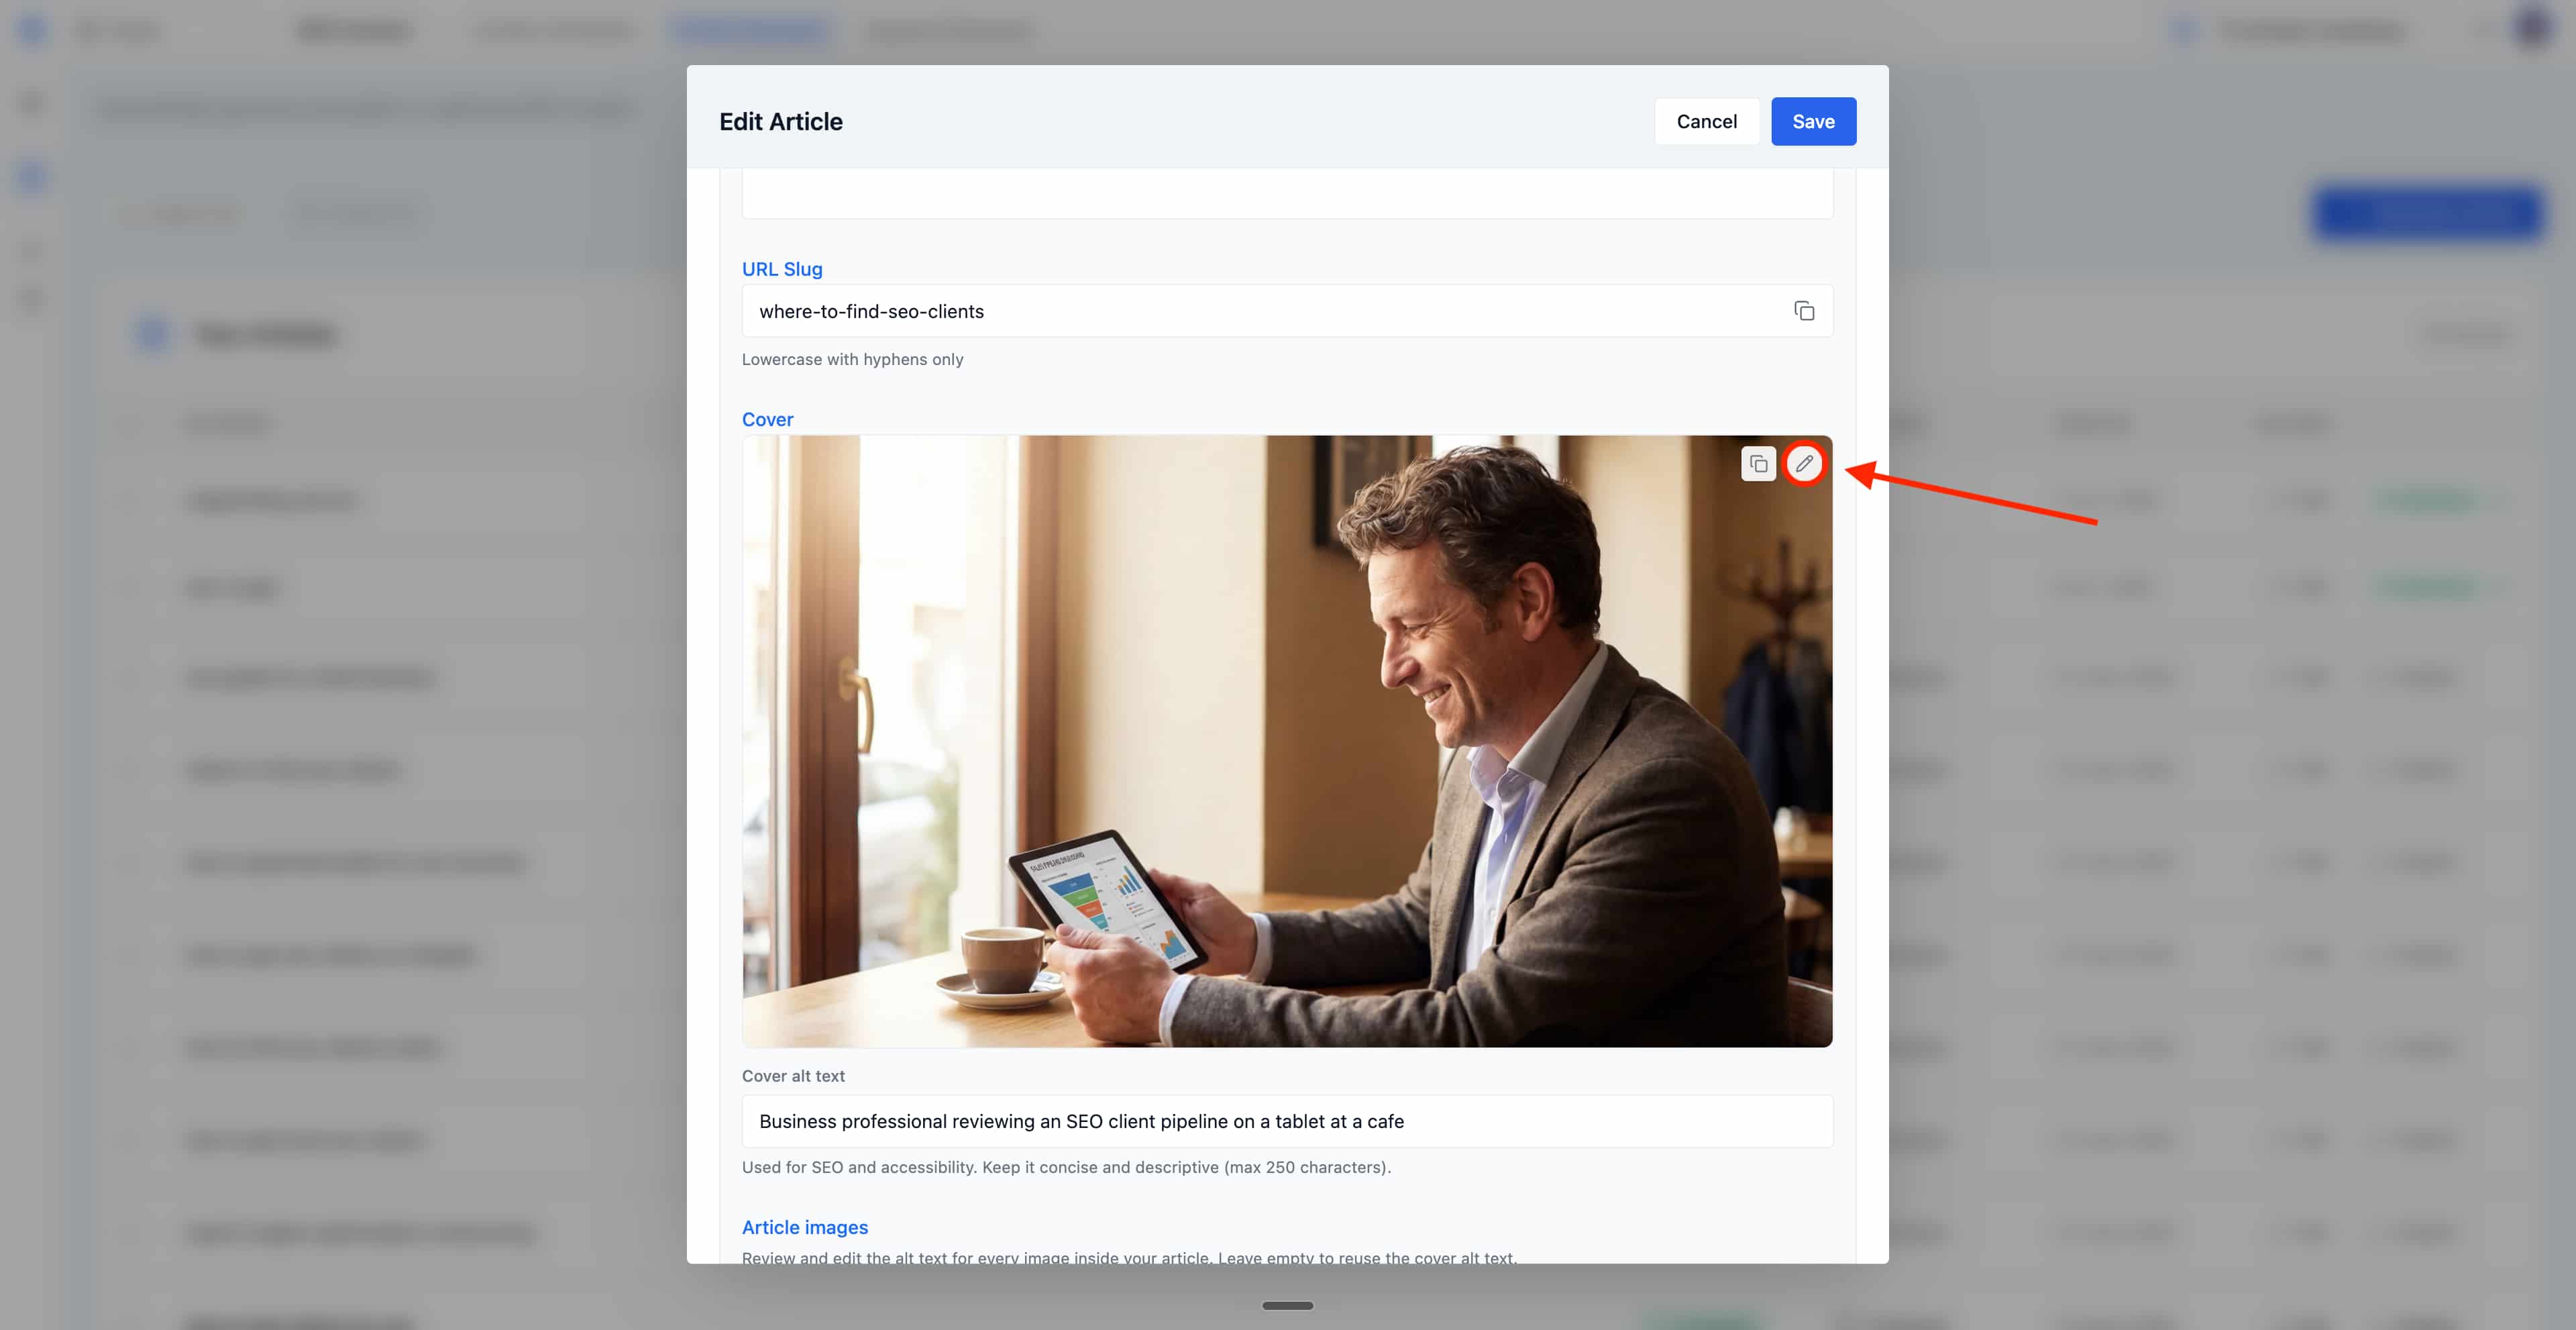
- Cover Image, an AI-generated cover image tailored to your article topic.
Edit your Article Content
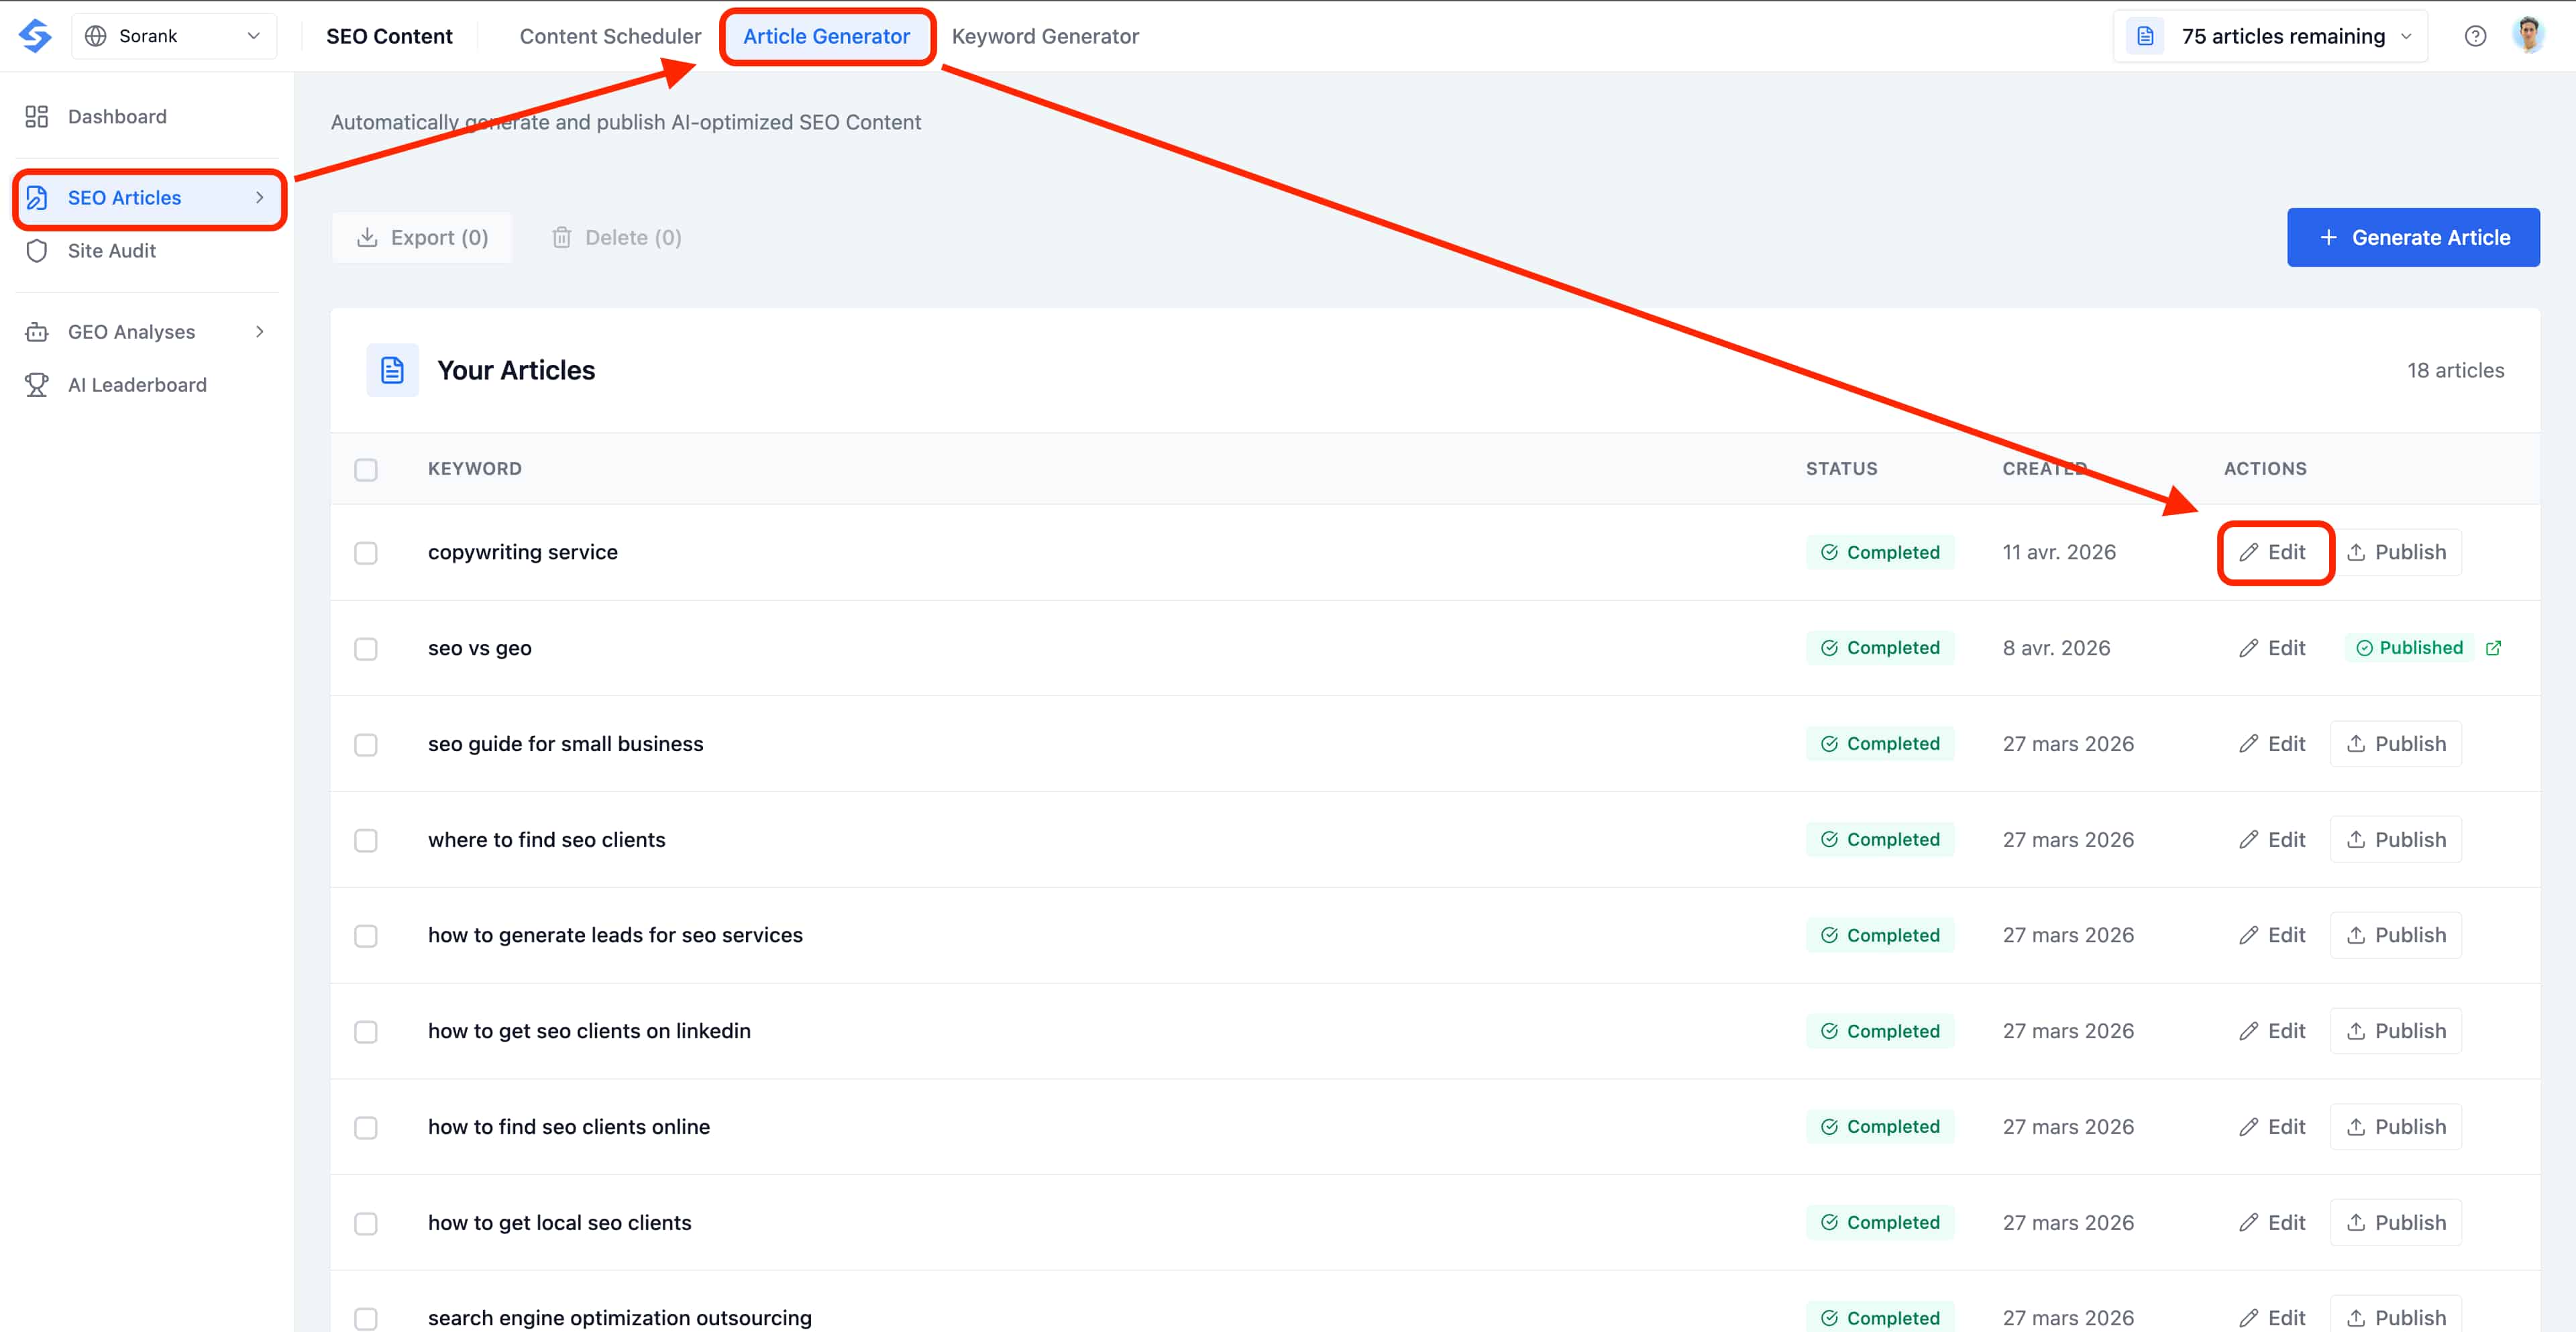
The article body opens in a full rich-text editor built for SEO writers. You can rewrite any paragraph, restructure the outline, polish the tone or fact-check a claim, all directly inside the page, without ever leaving Sorank.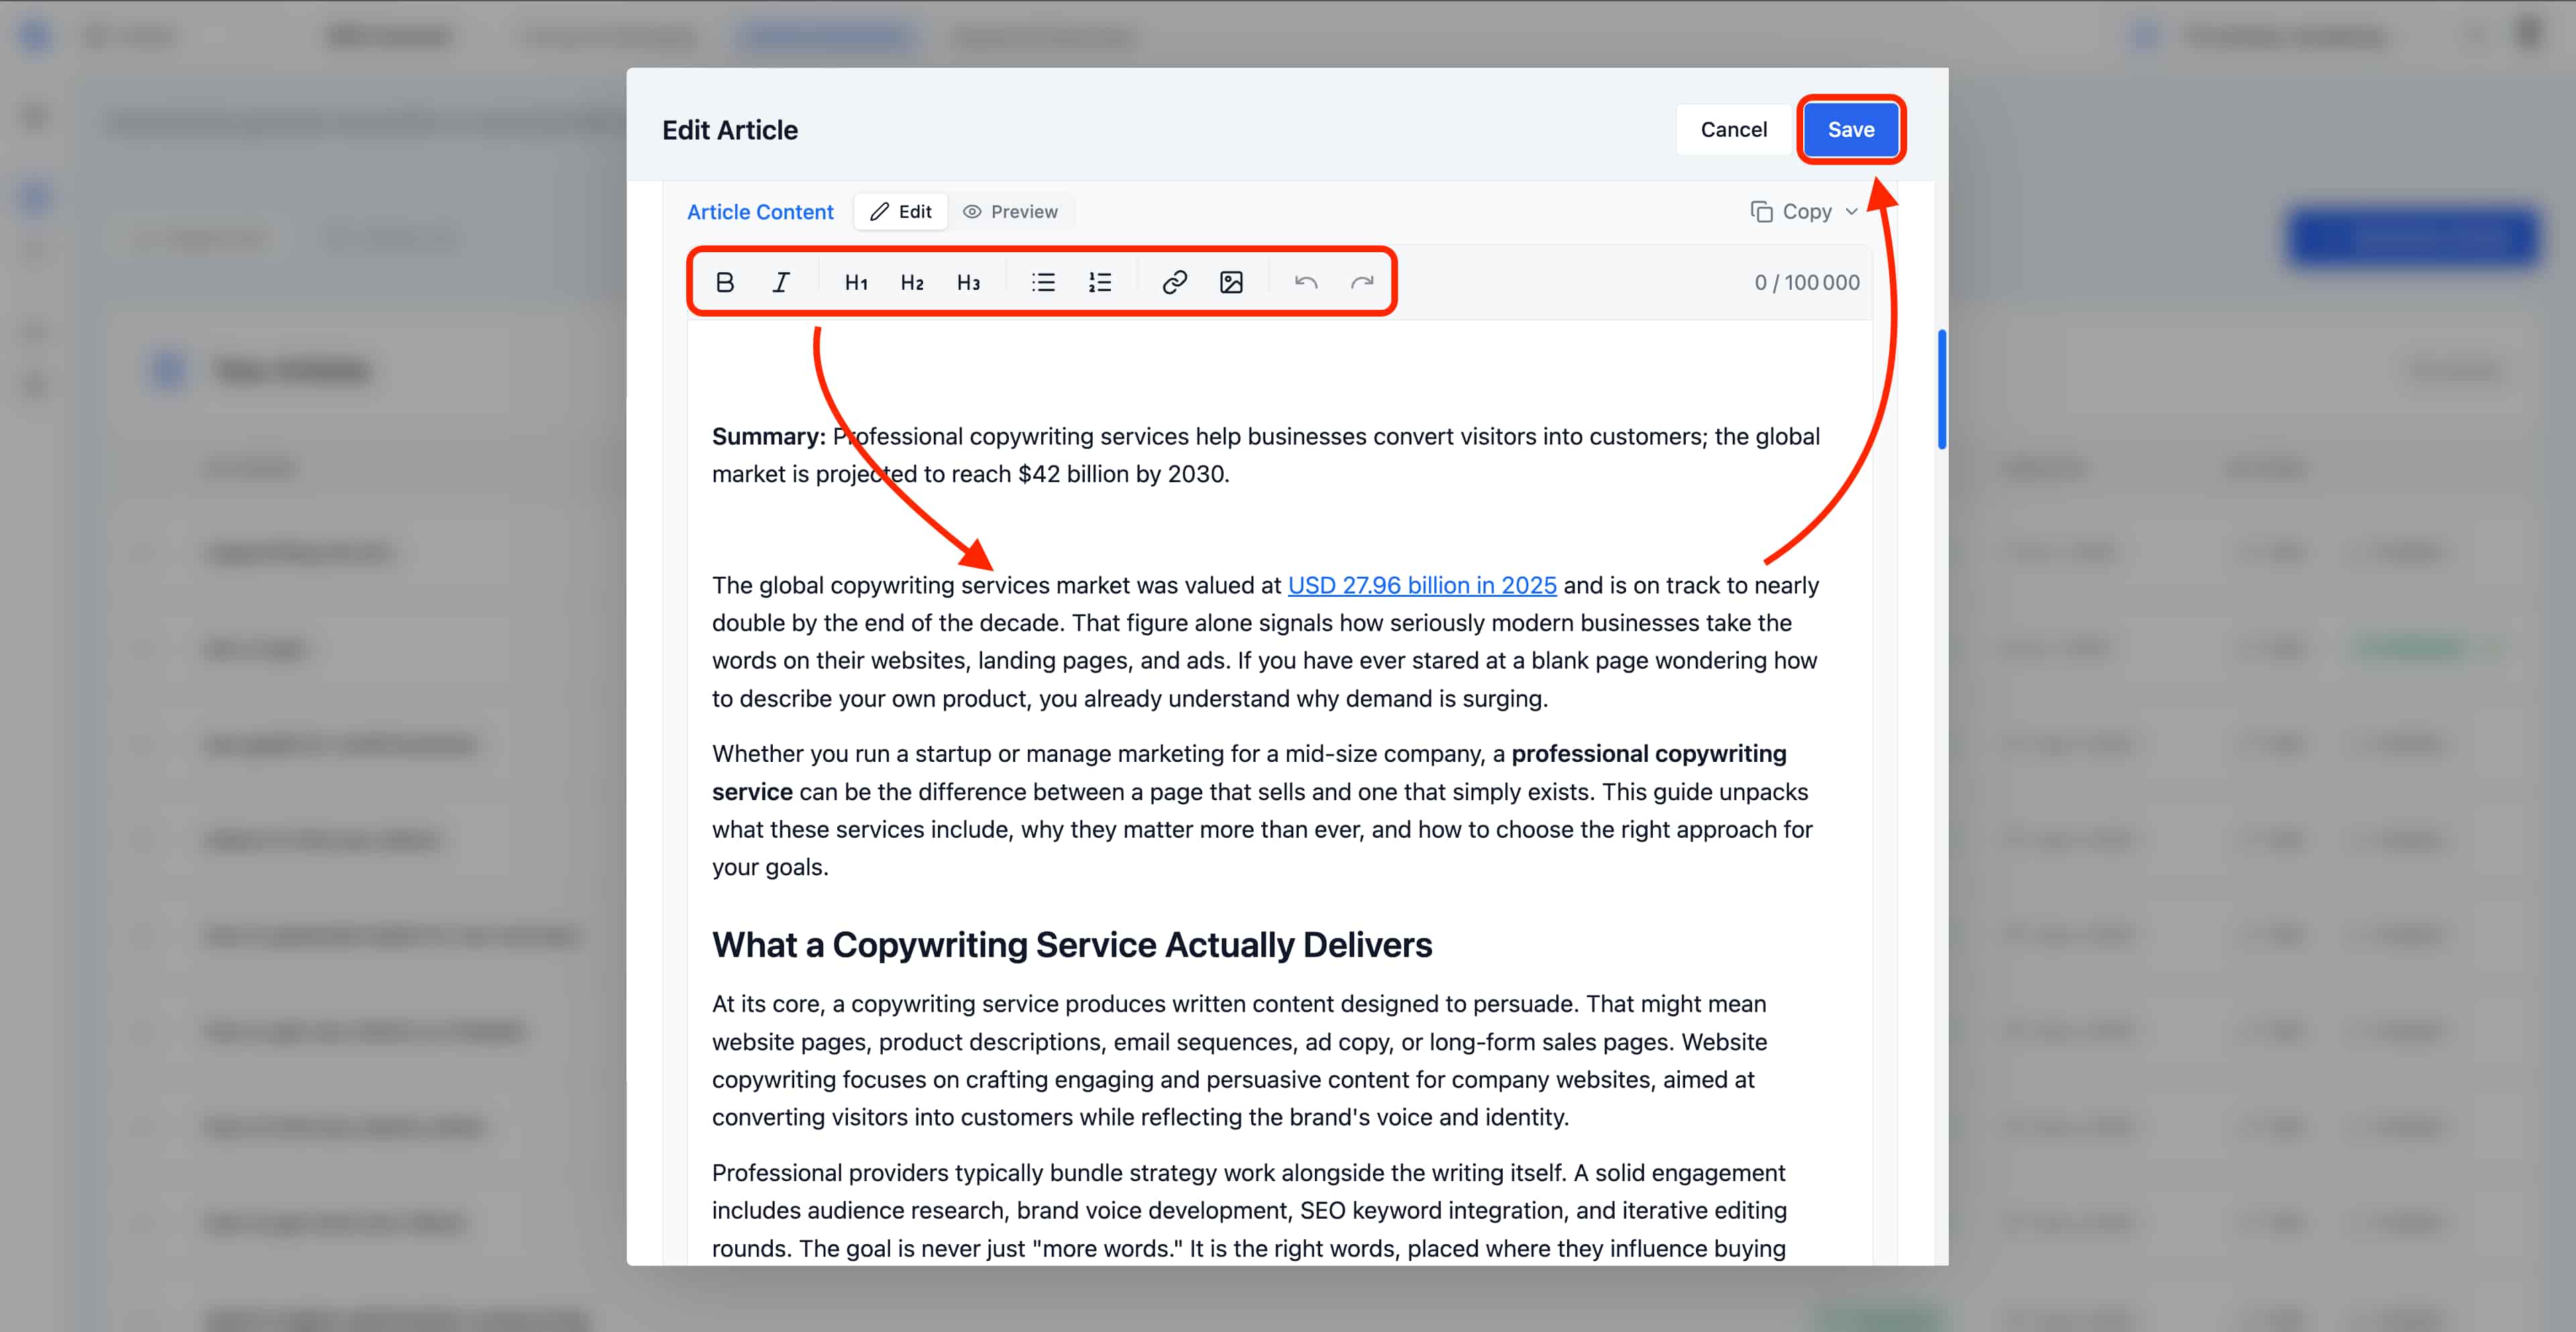
- Text formatting: bold, italic, and inline links to add citations or internal links to your other pages.
- Heading levels: H1, H2 and H3 to keep a clean semantic structure that search engines can crawl.
- Lists: ordered and unordered lists to break down steps, features or comparisons.
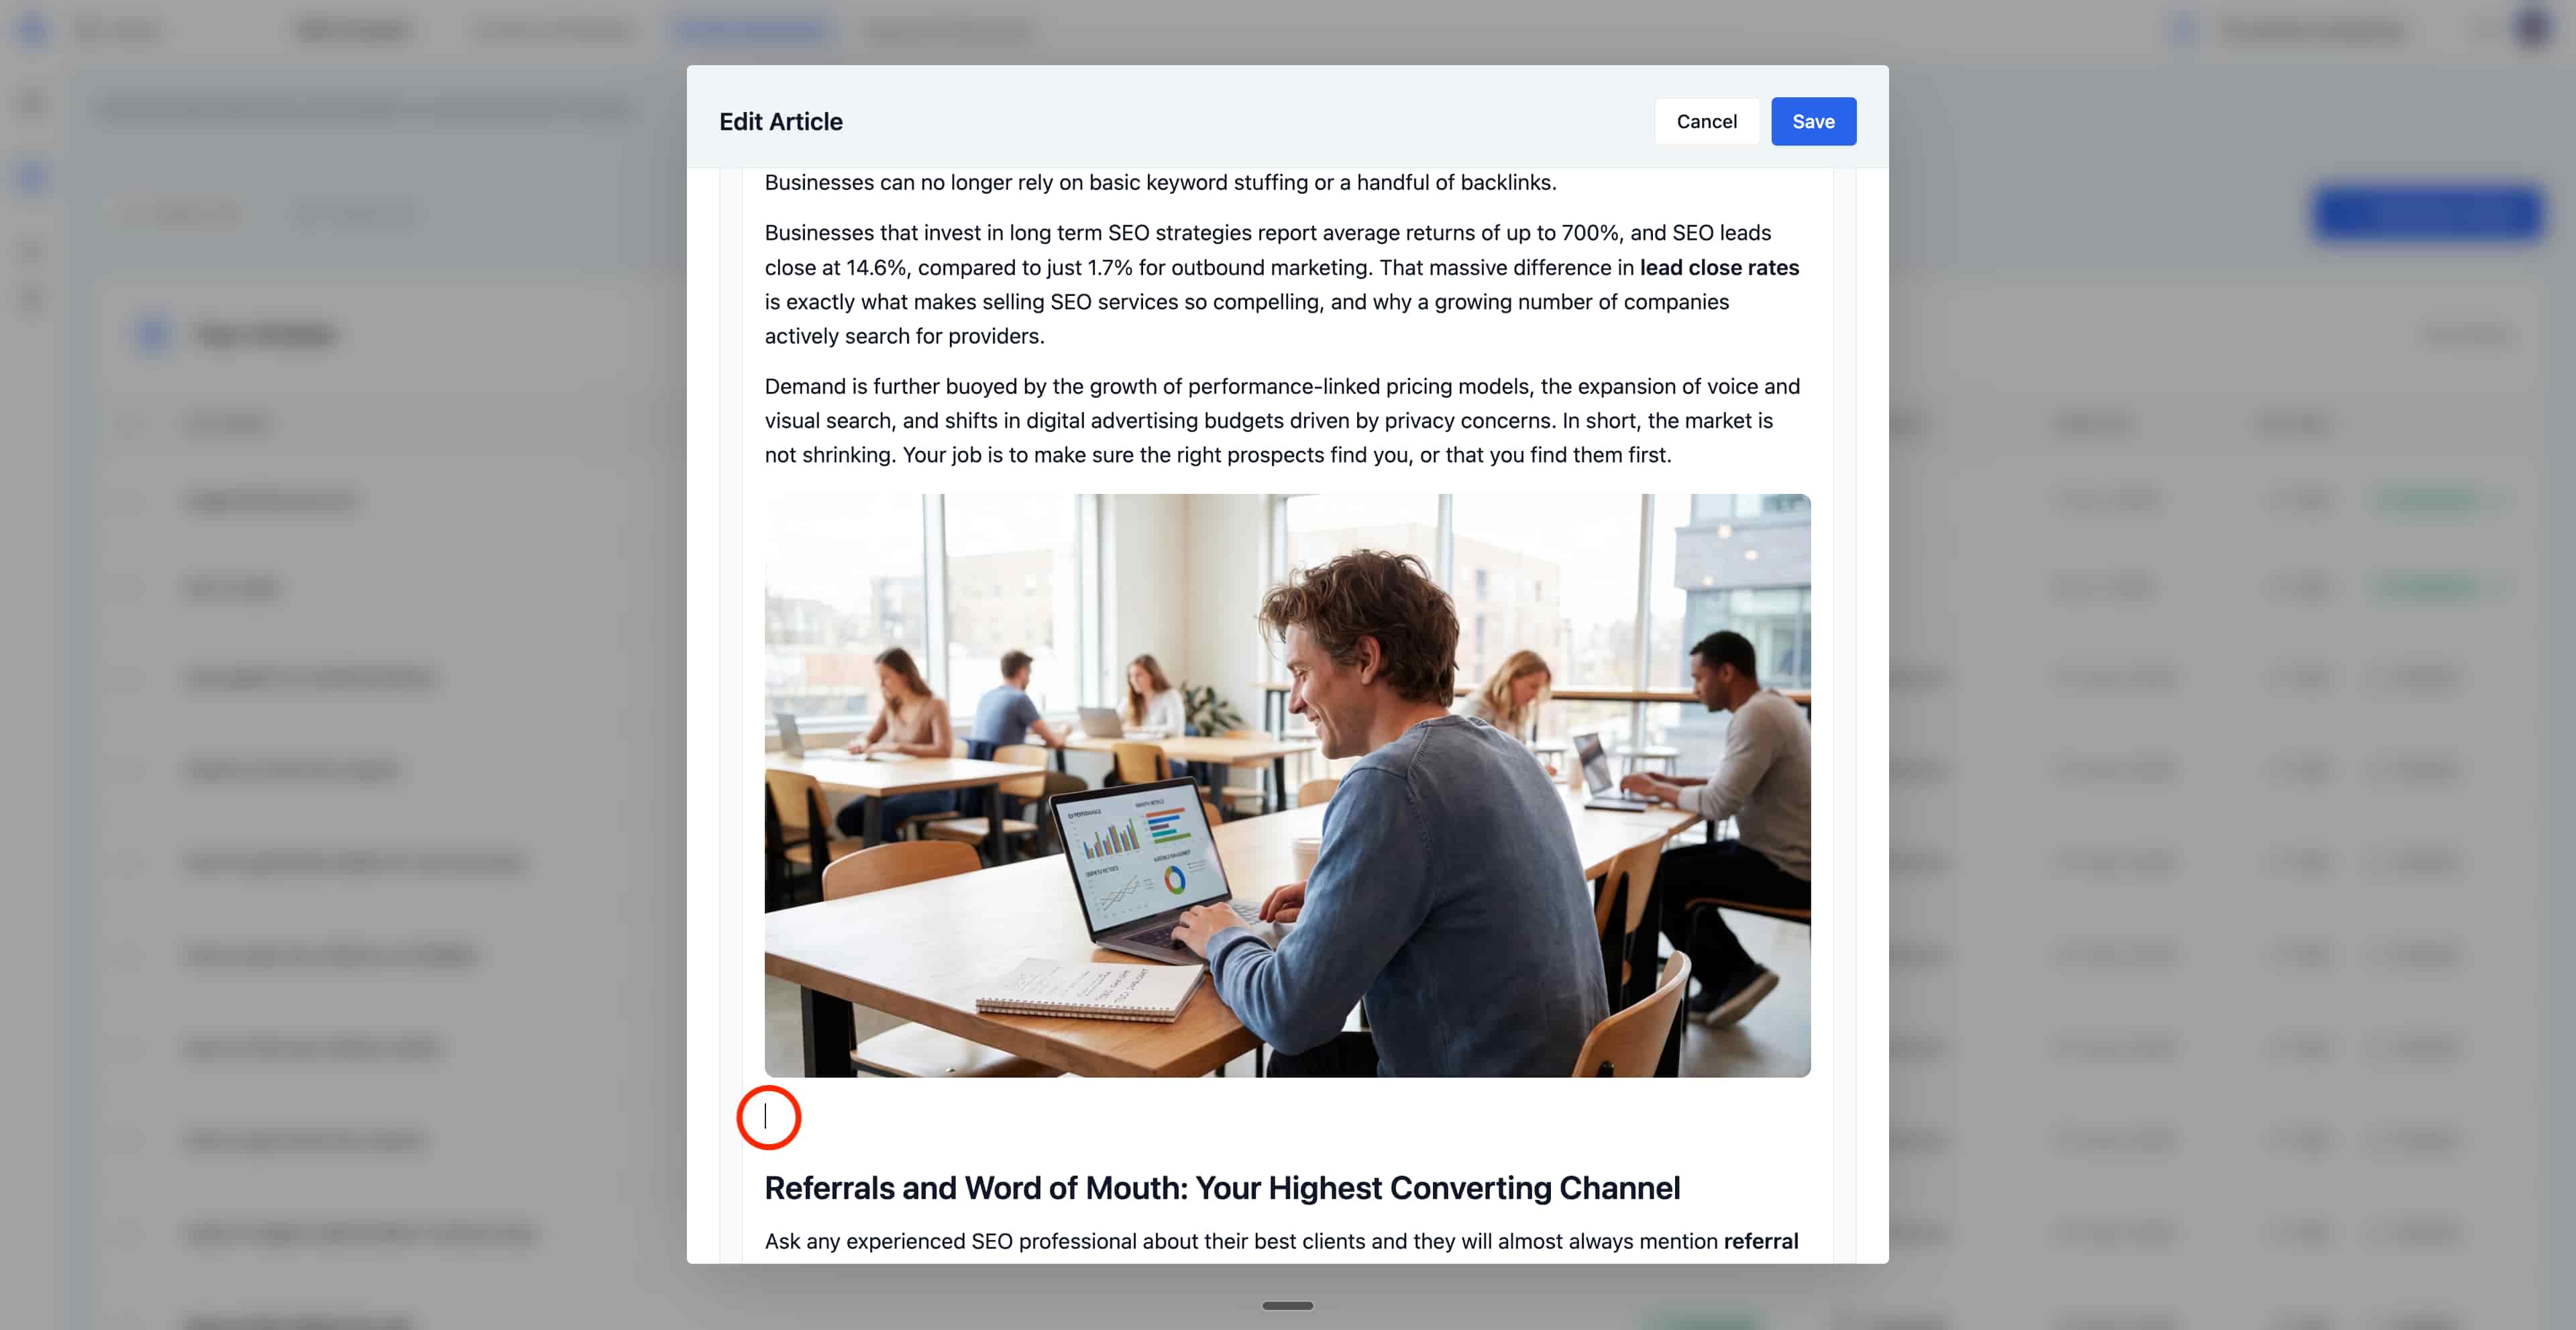
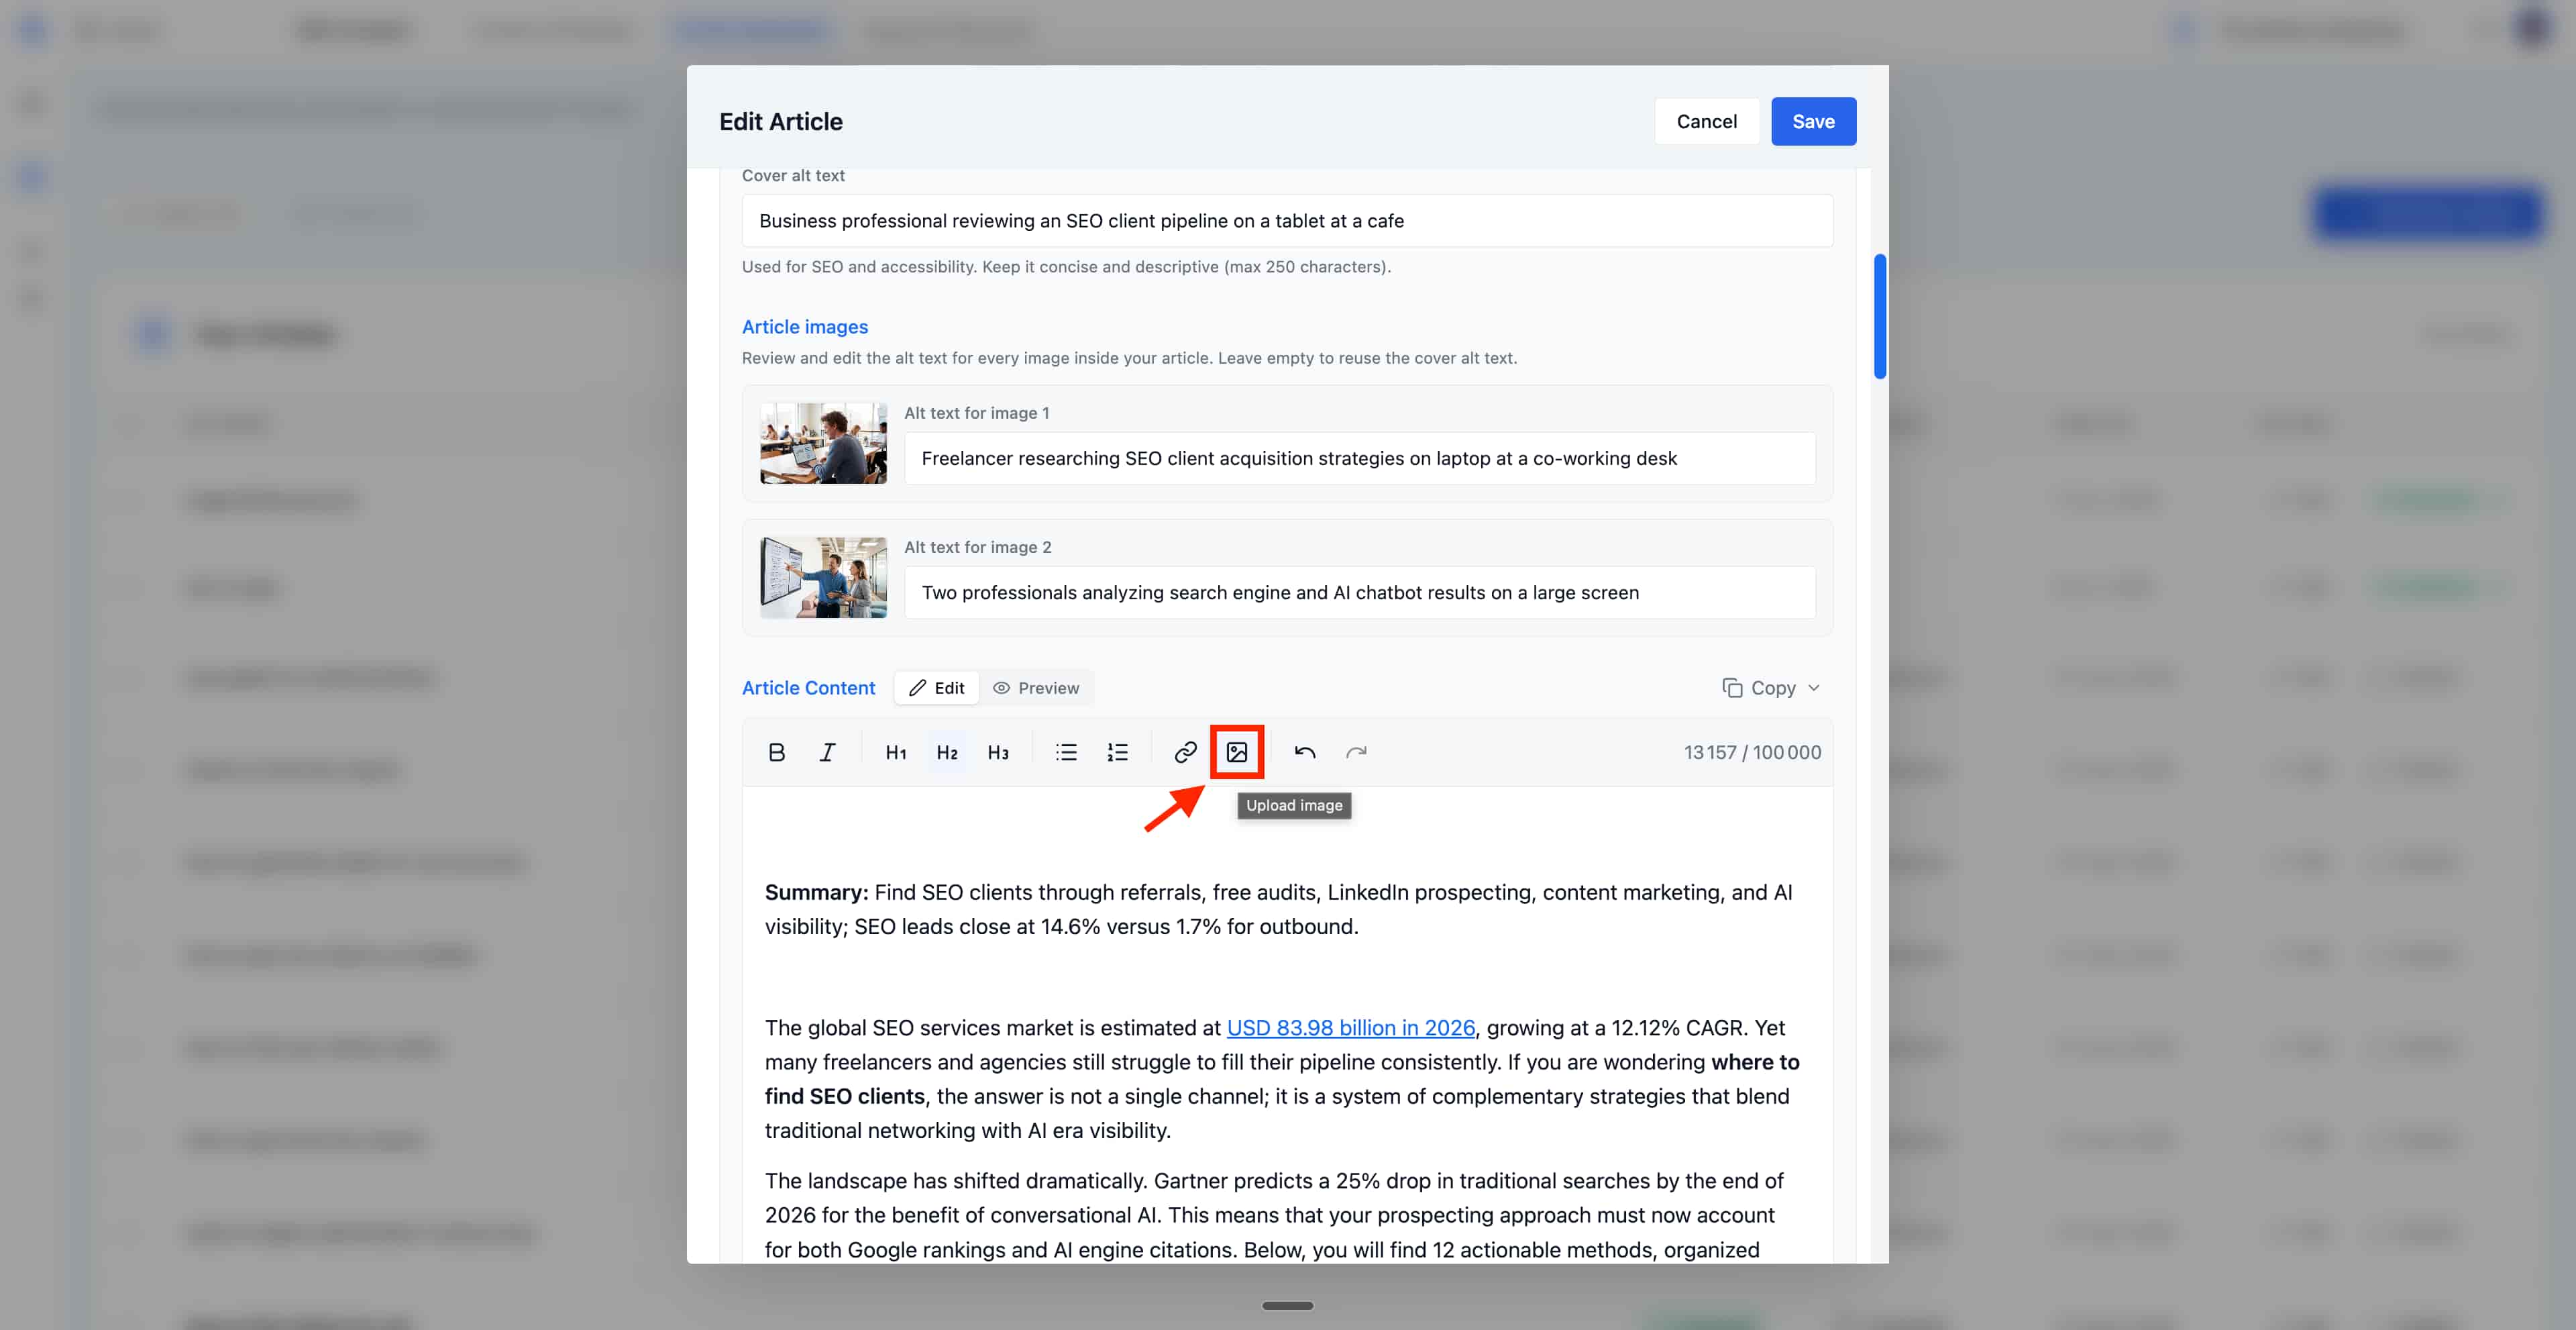
- Inline images: insert additional visuals between paragraphs to illustrate a point or break up long sections.
How to Change Images in Your Articles
Your articles come with AI-generated images, but you can easily customize them to match your brand or preferences. The cover image and inline images can be edited directly in the article editor. For the cover image, simply hover over it and click the edit icon (pencil button) in the top-right corner to swap it out.