
Step 1: Open the CMS Panel
Open your Webflow Designer. Click CMS in the top navigation bar. Click the + button next to “CMS Collections”. Select Create collection.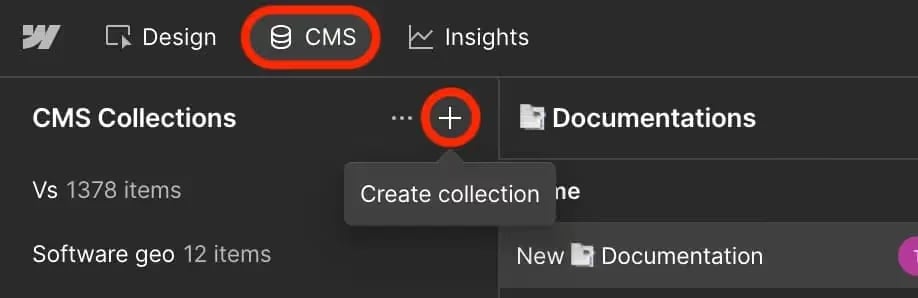
Step 2: Create a Blog Collection
In the “New Collection” dialog, click the Blog Posts template. Set the Collection Name to Blog. The URL becomes /blog automatically. Click Create Collection.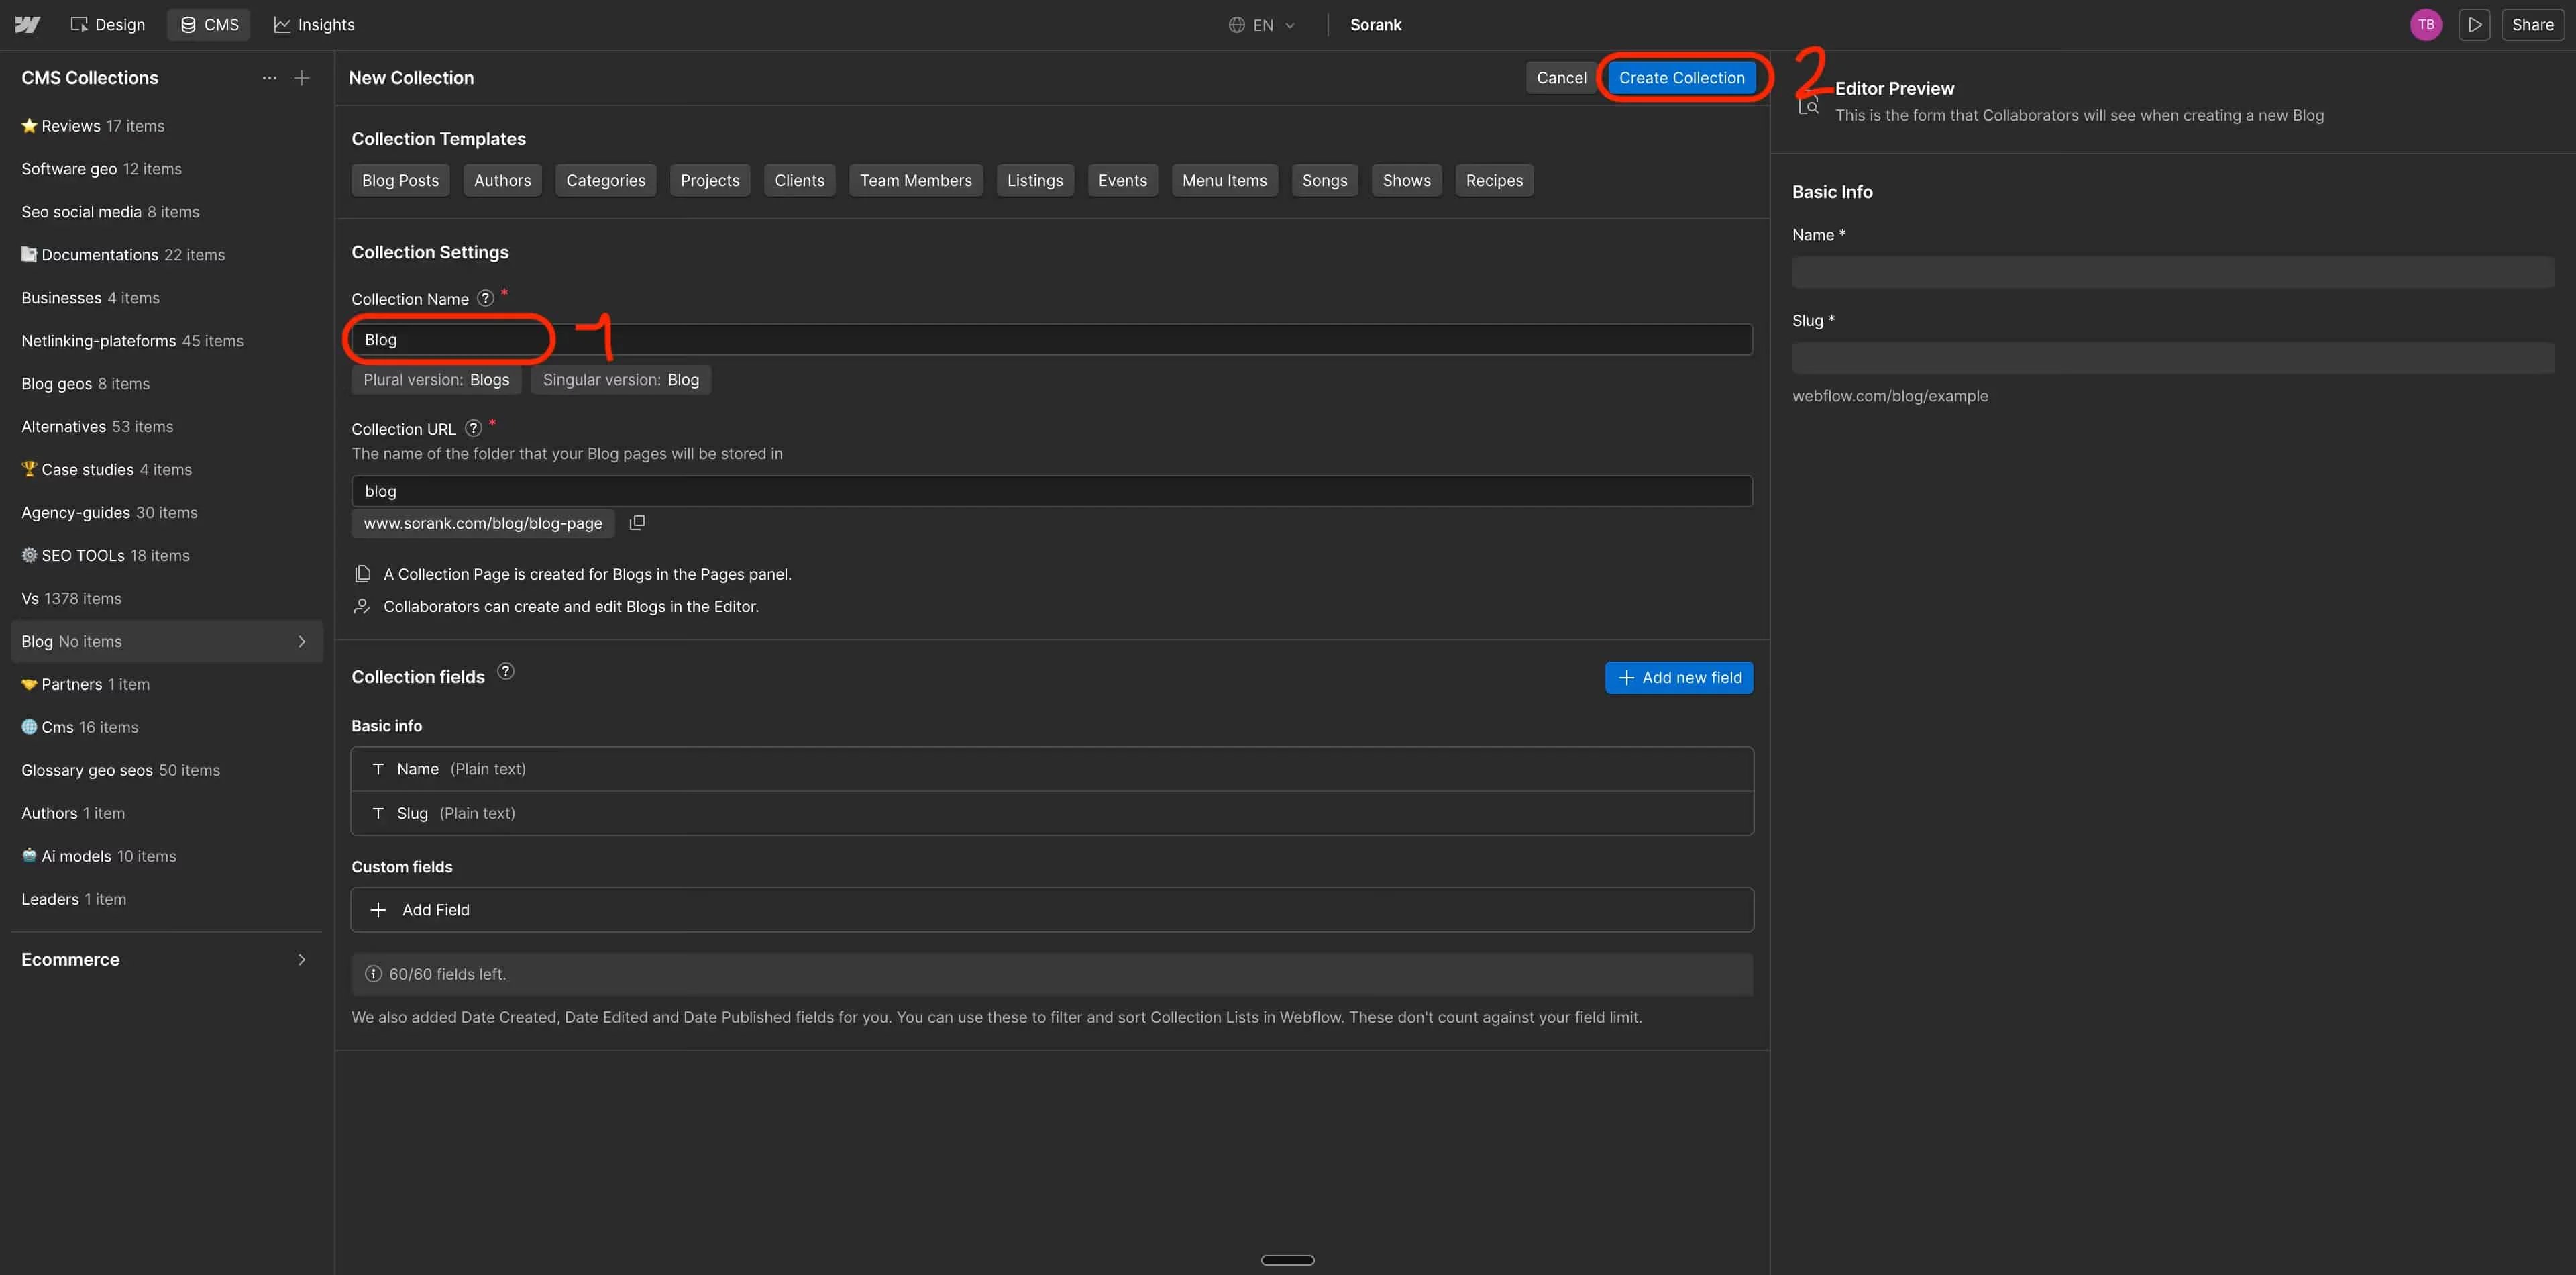
Step 3: Add the Required Custom Fields
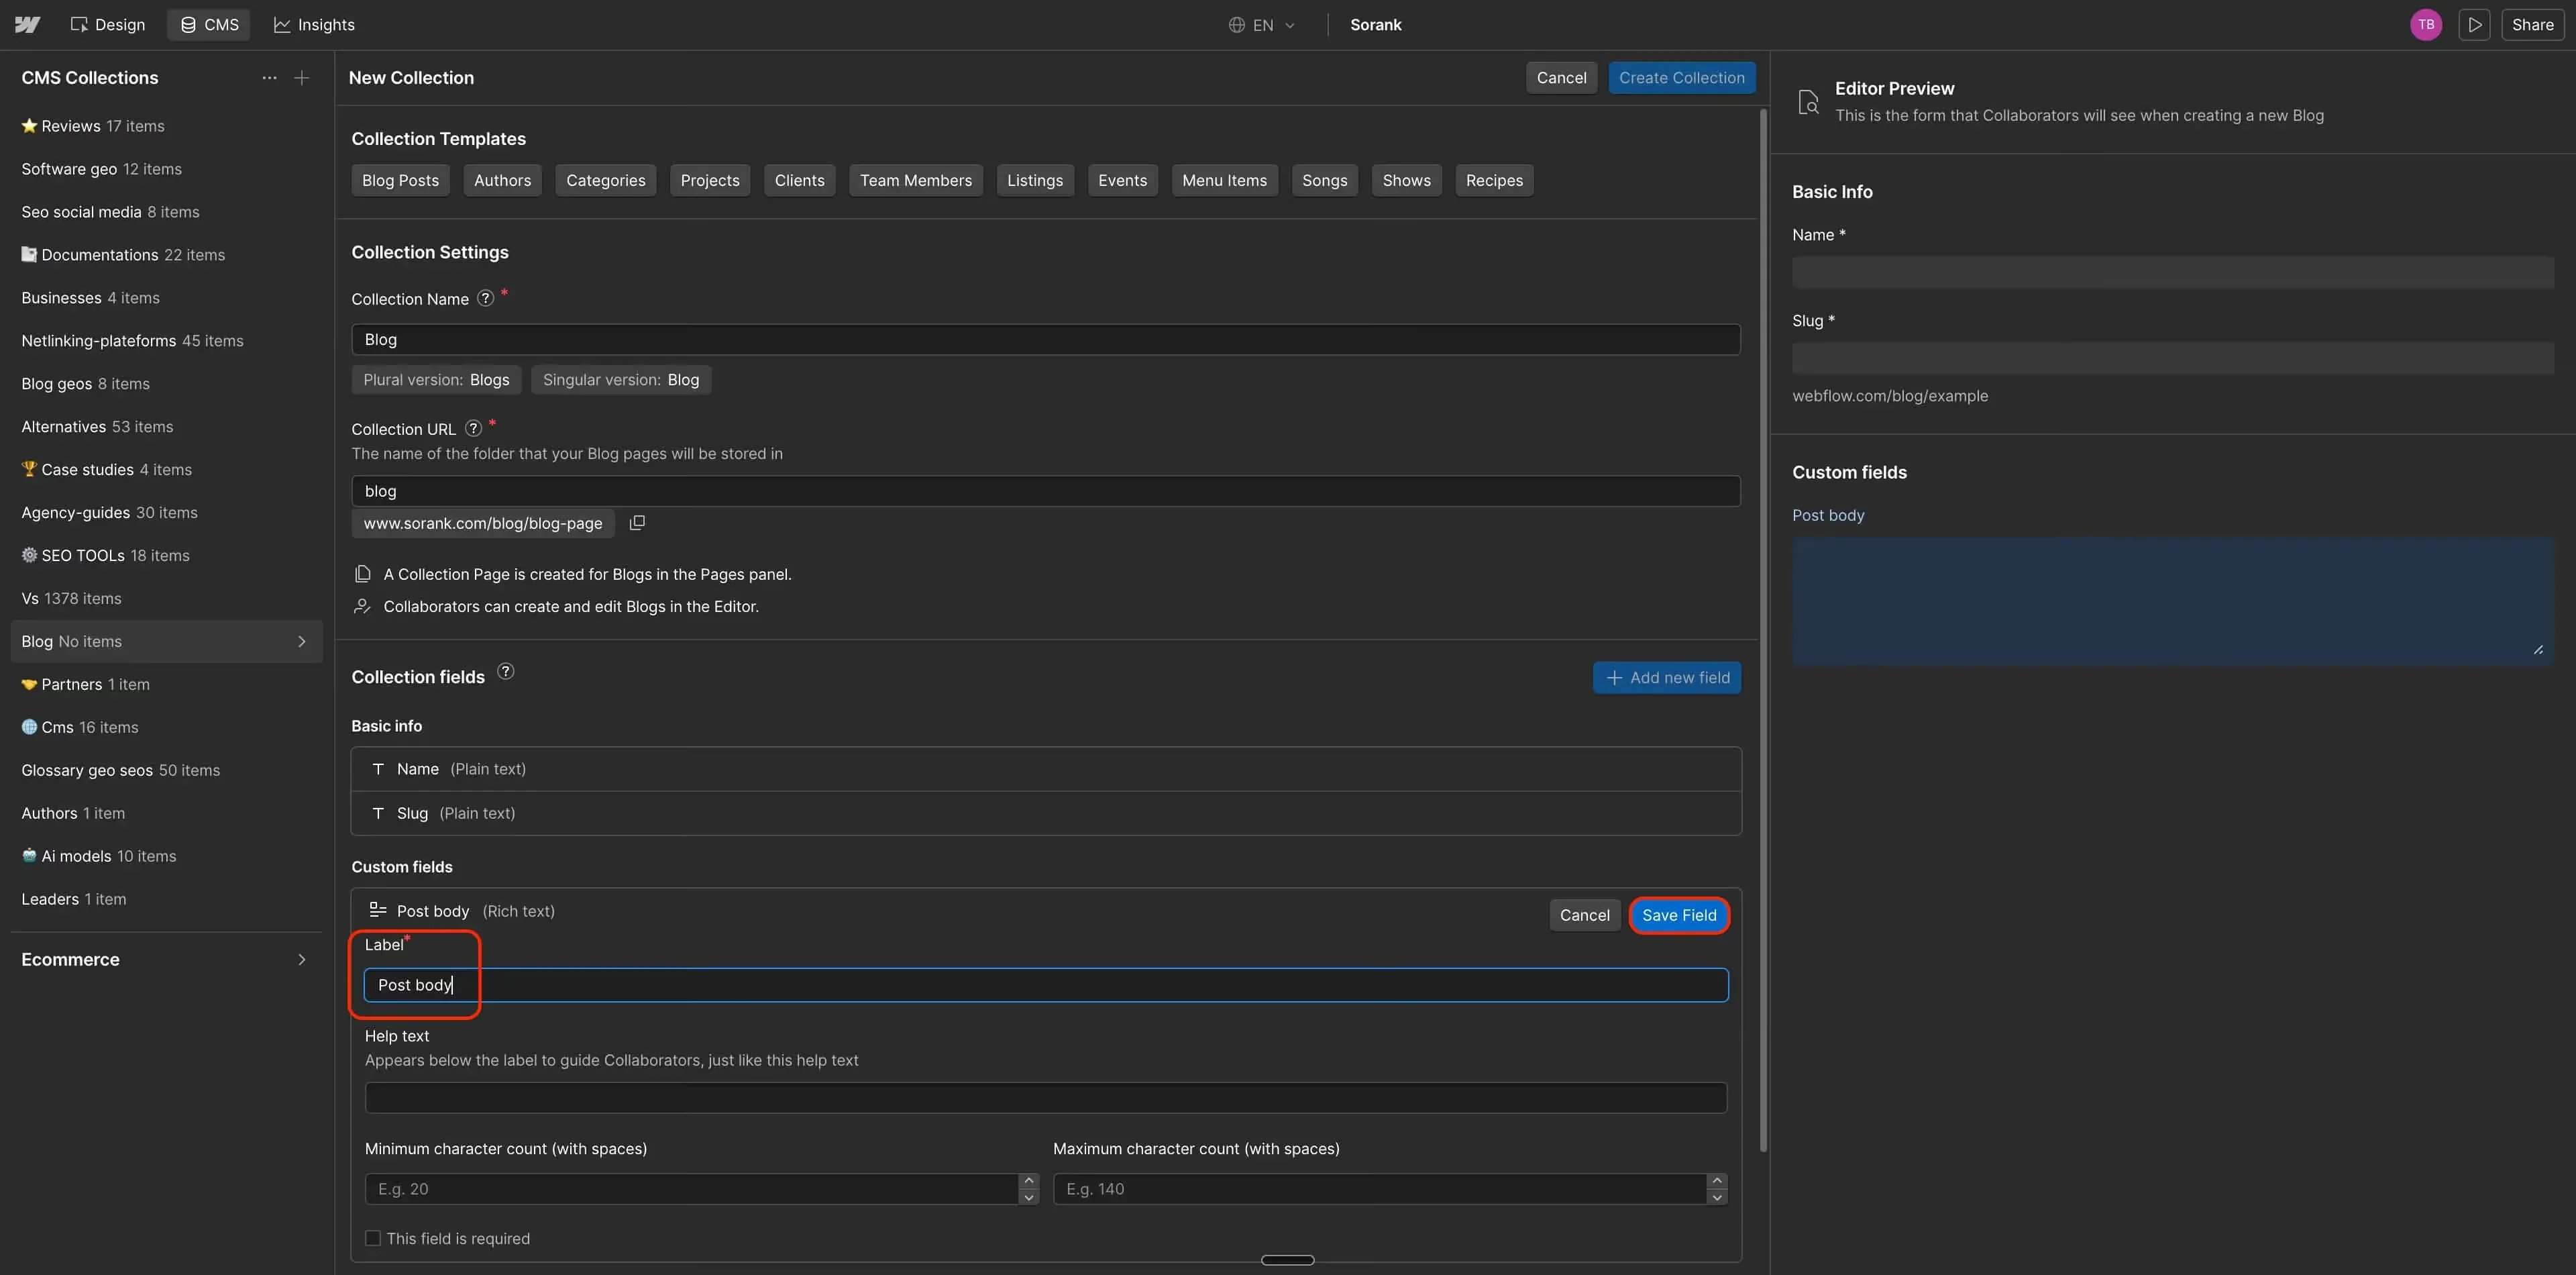
Click + Add new field. You need to create 3 custom fields one by one.Field 1: Post body
Click + Add new field. Select Rich text. Name it Post body. Click Save Field.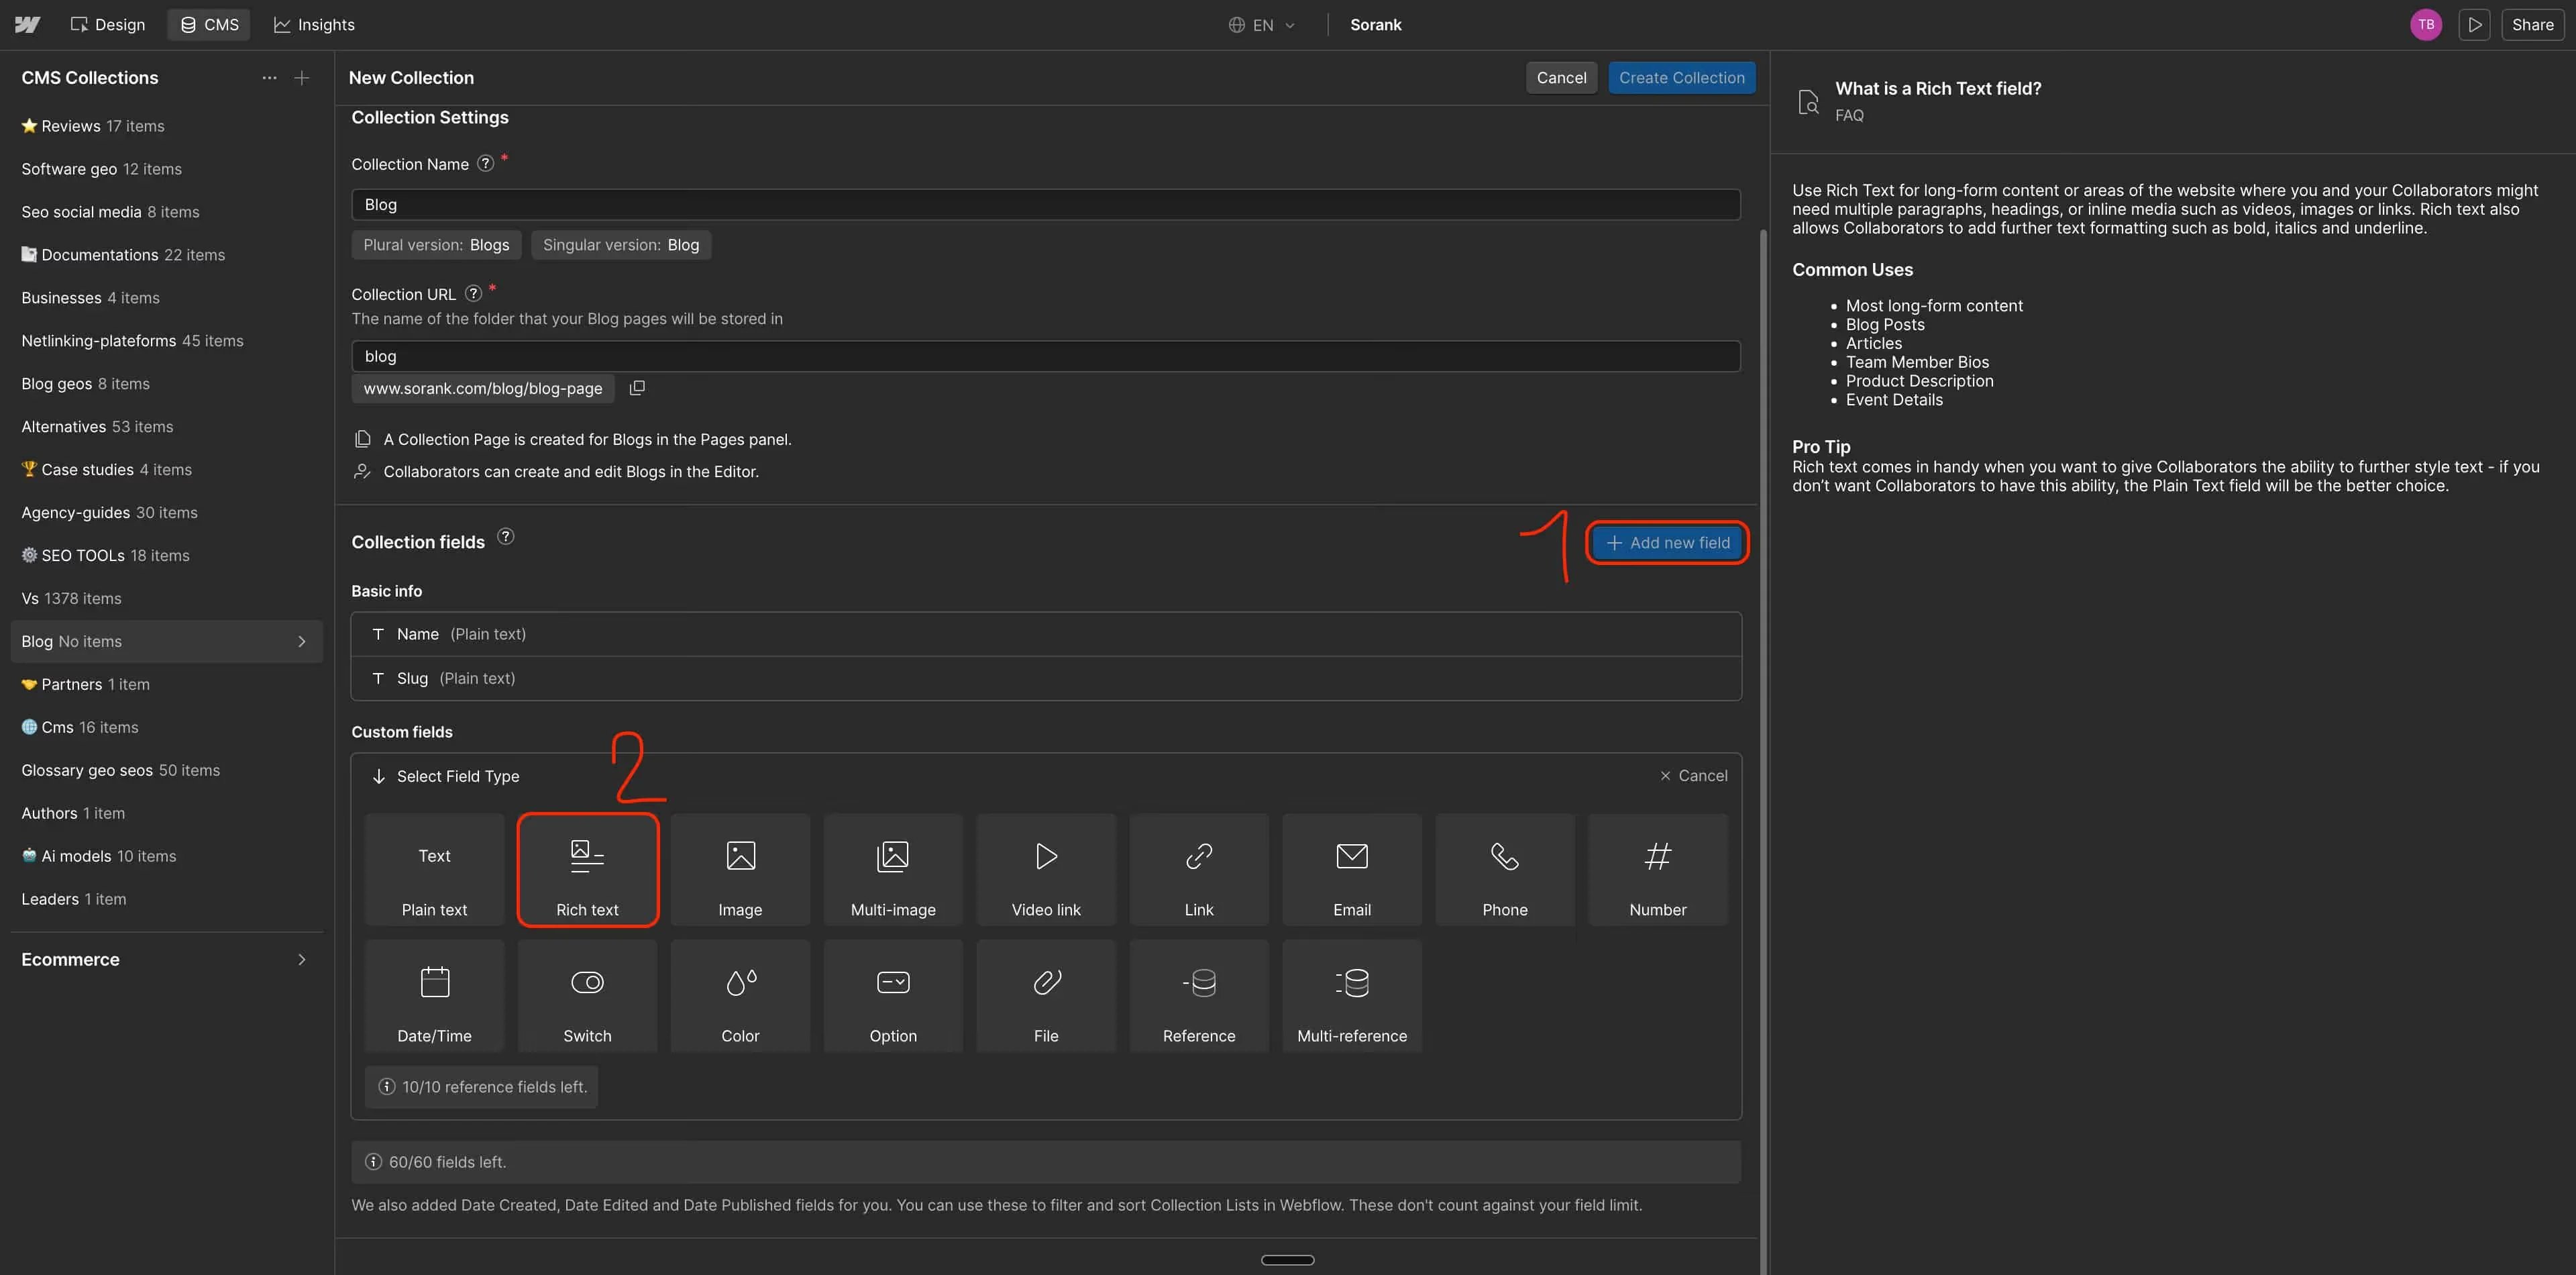
Field 2: Image
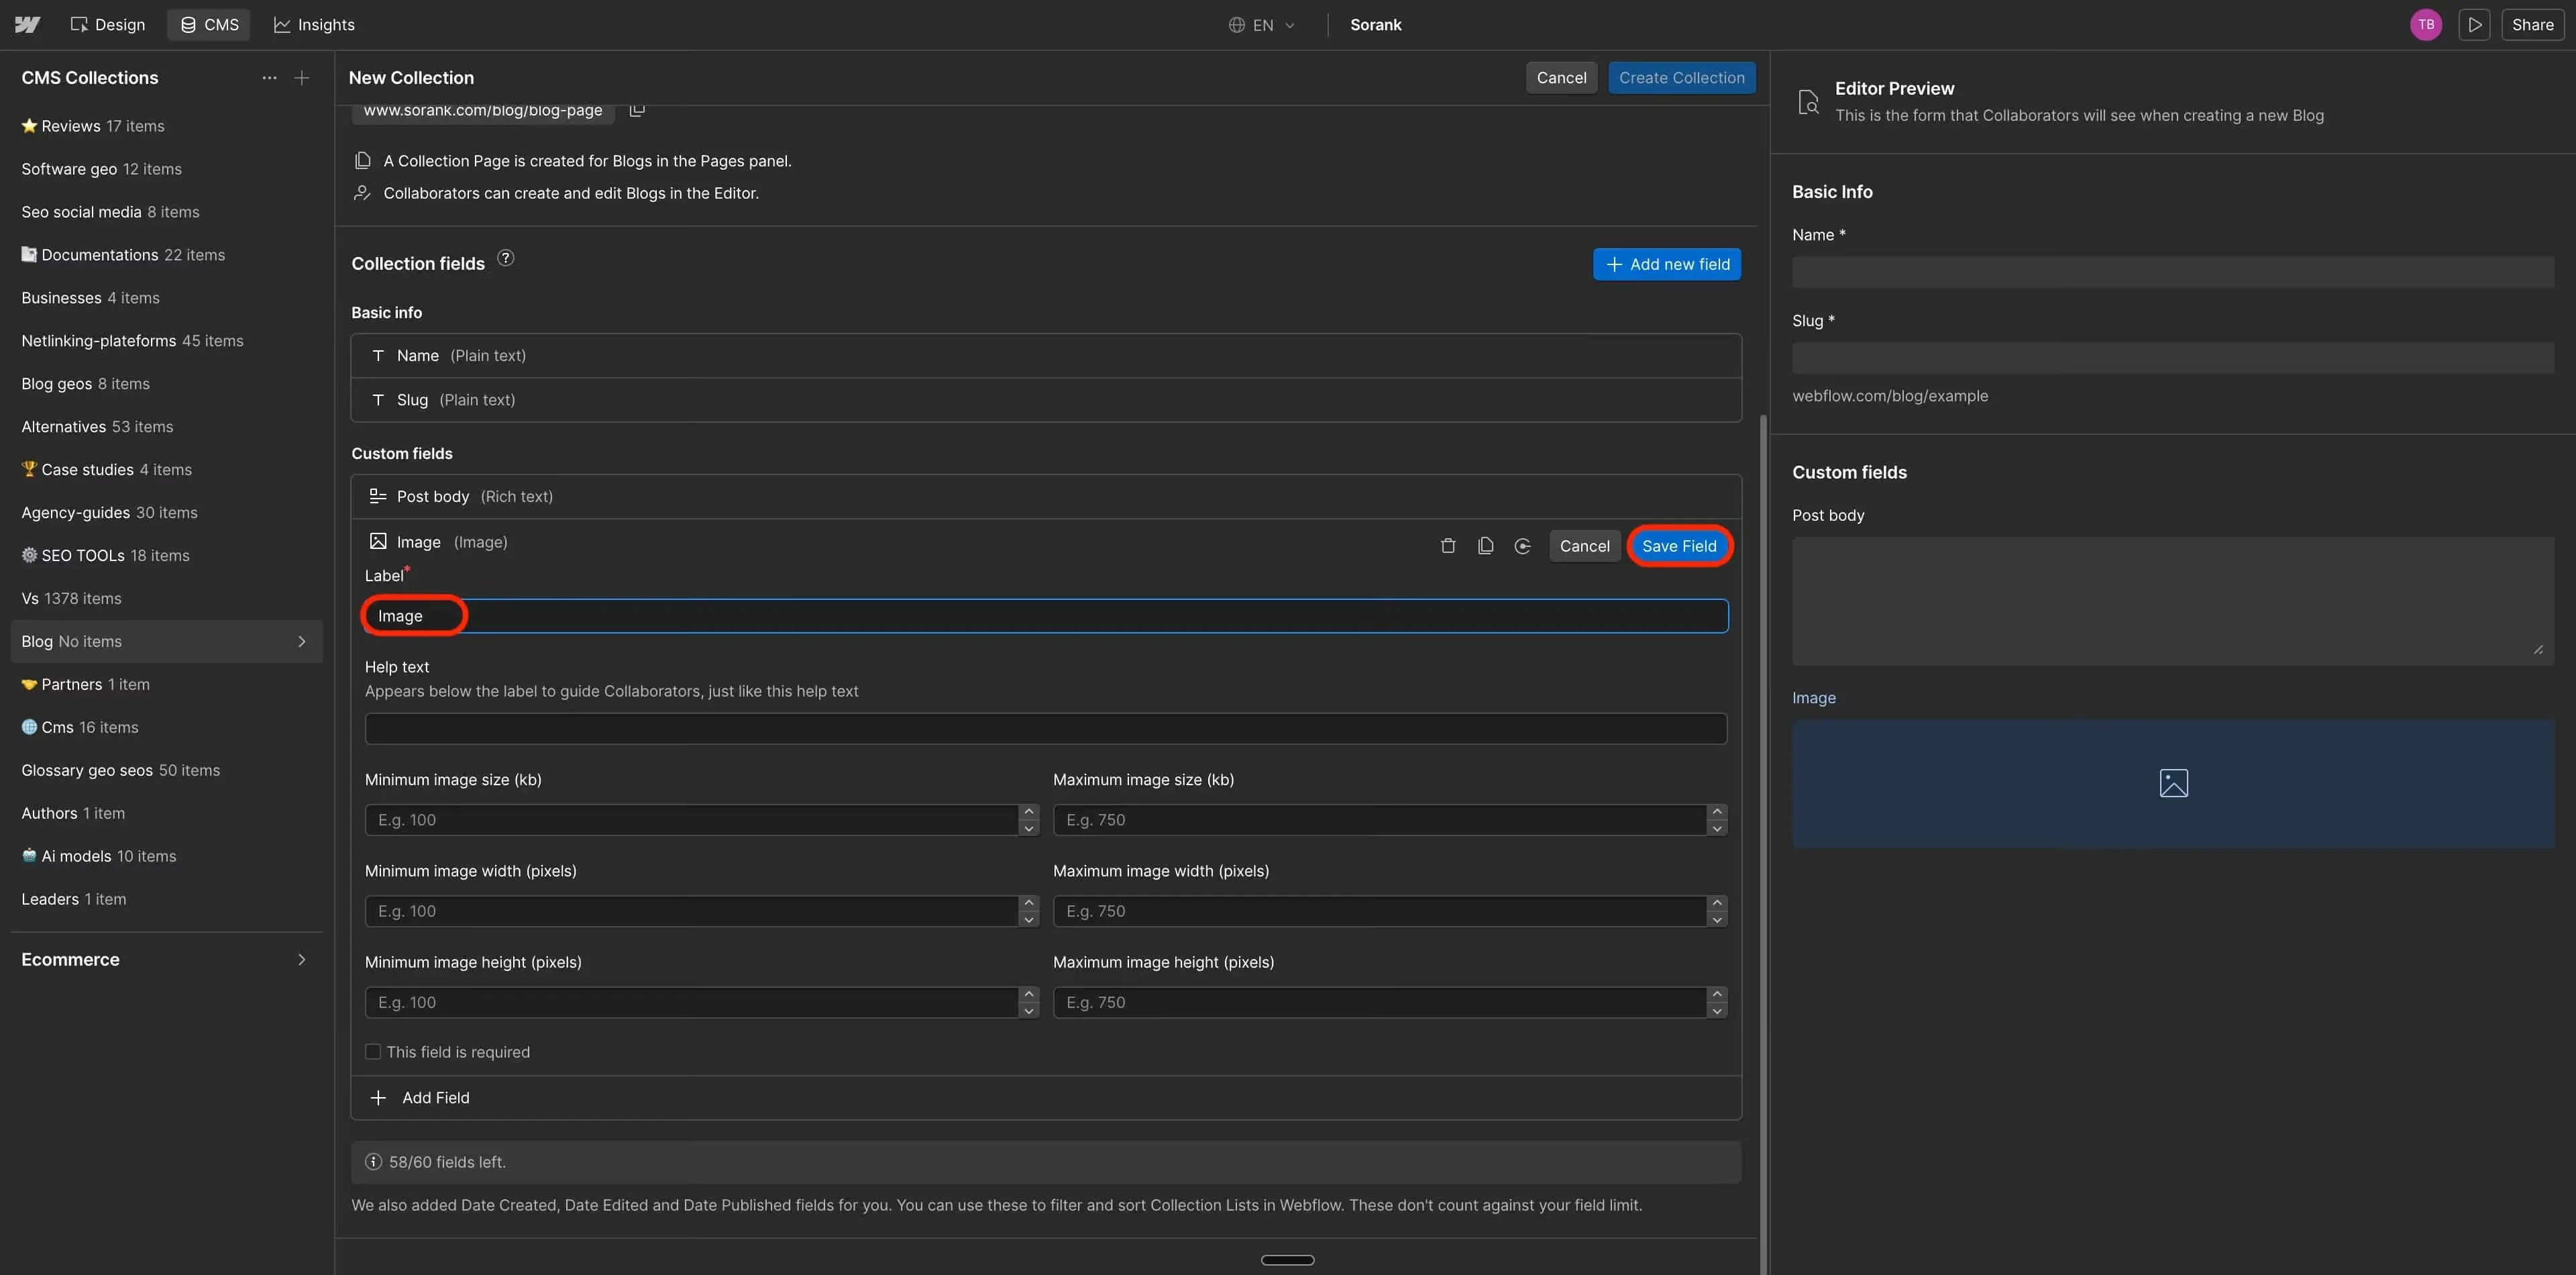
Click + Add new field again. Select Image. Name it Image. Click Save Field.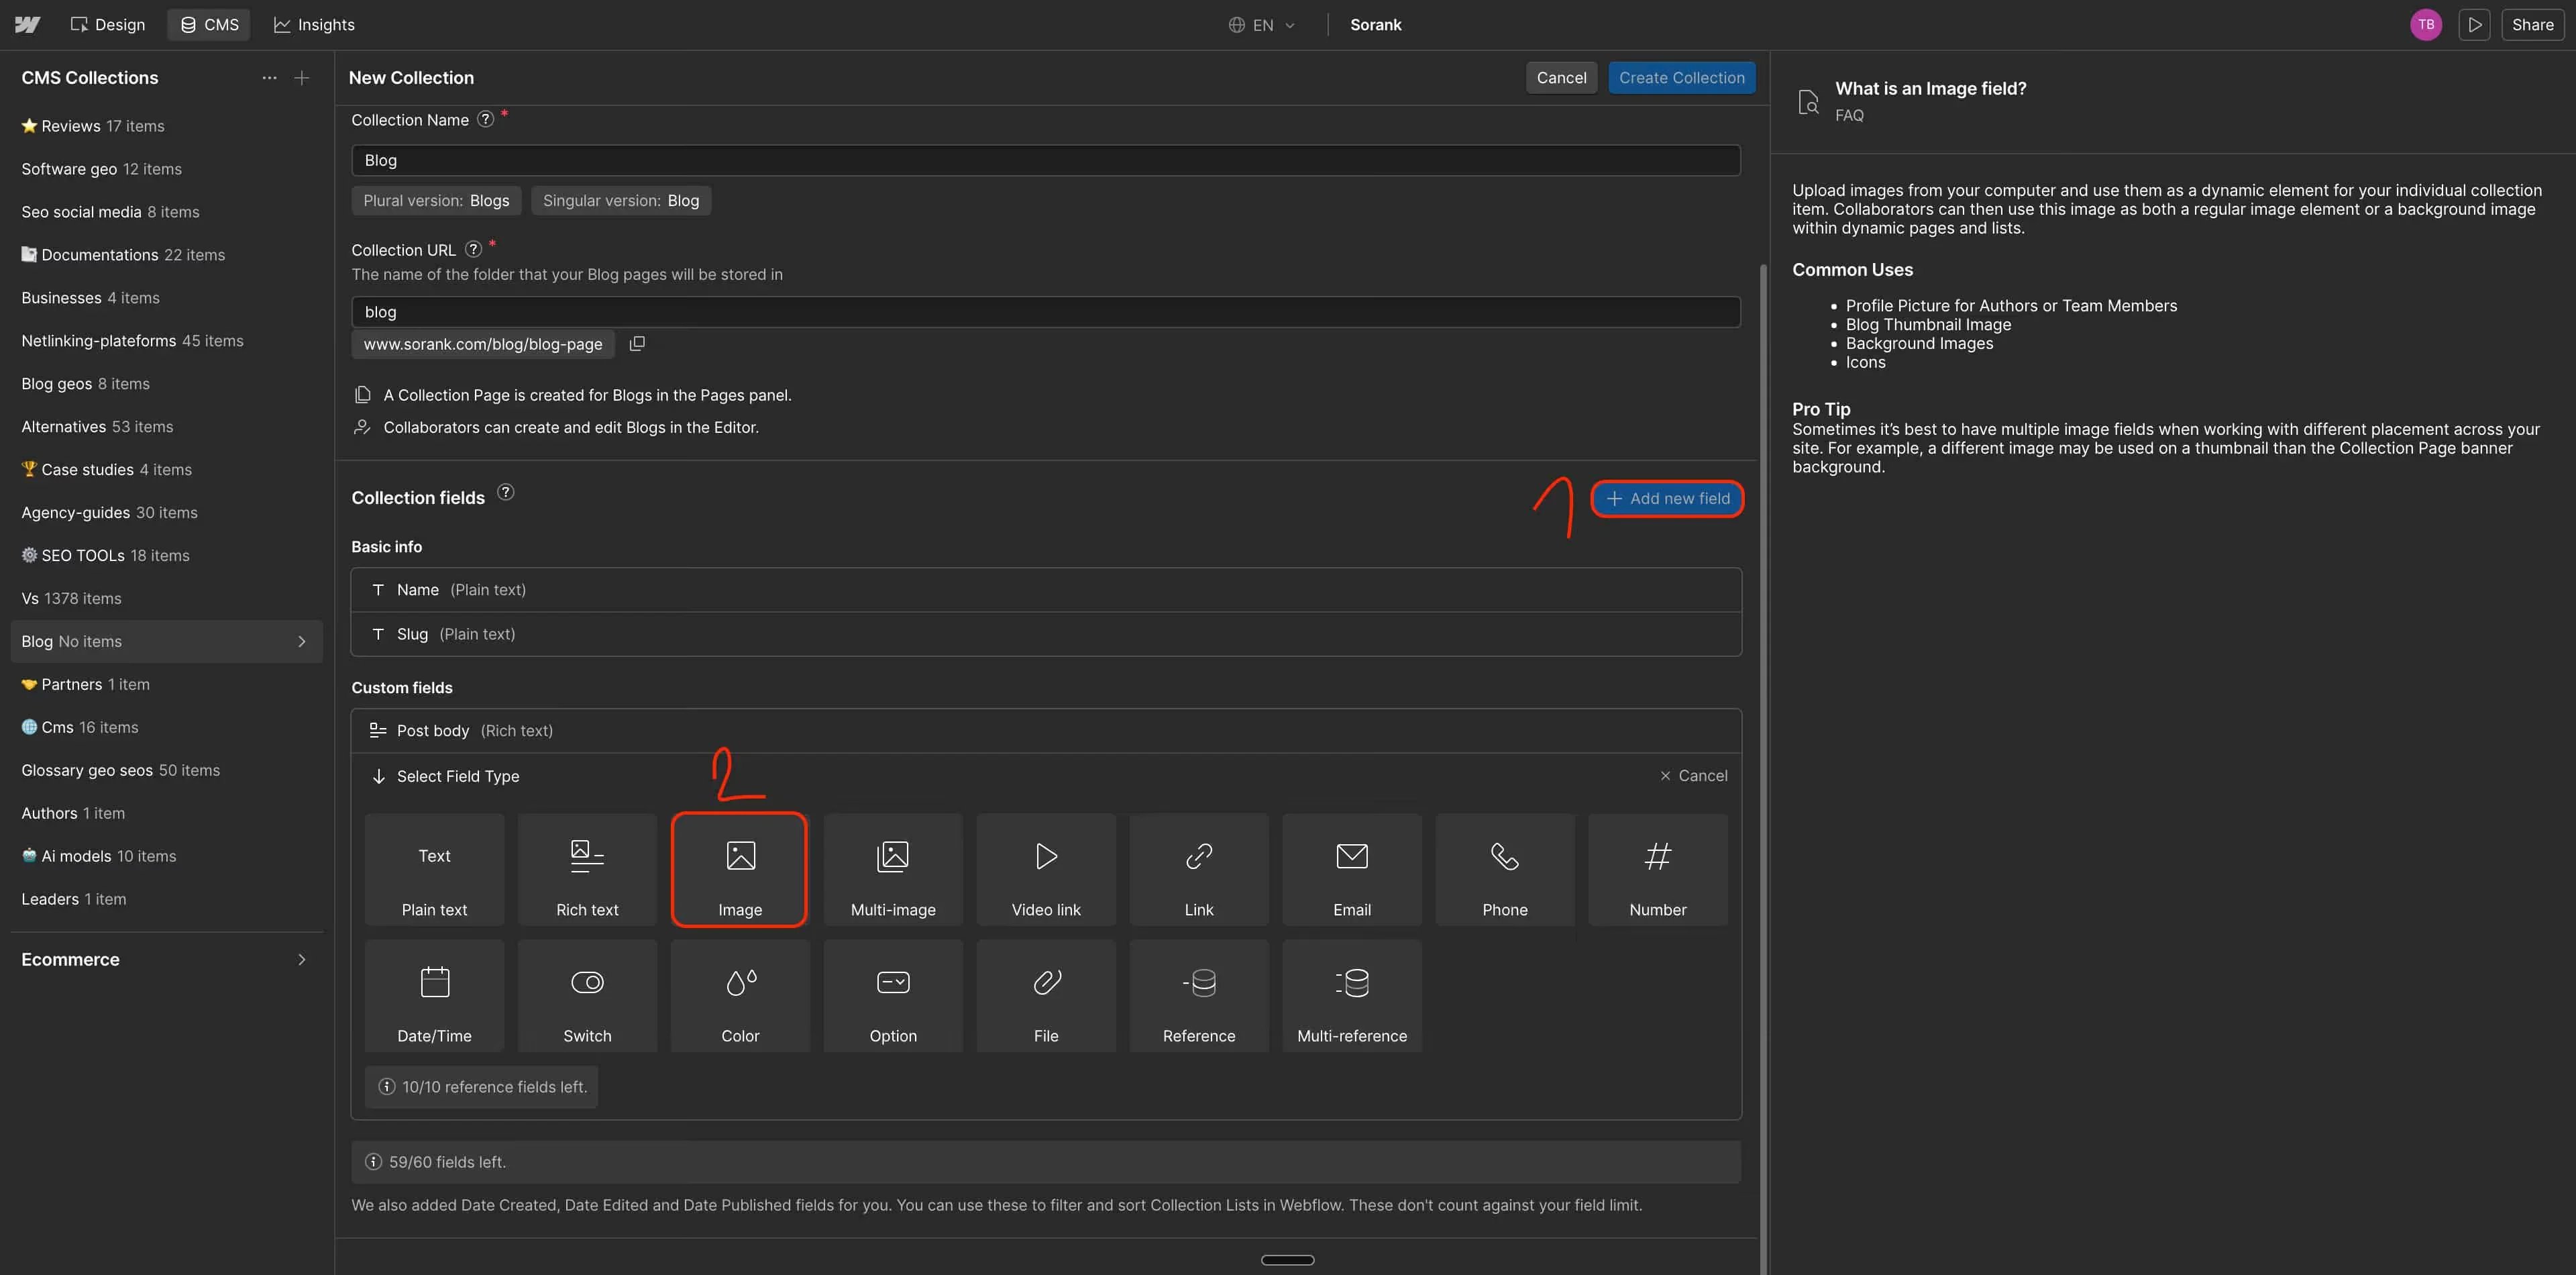
Field 3: Metadescription
Click + Add new field again. Select Plain text. Name it Metadescription. Set the text field type to Multiple line. Click Save Field.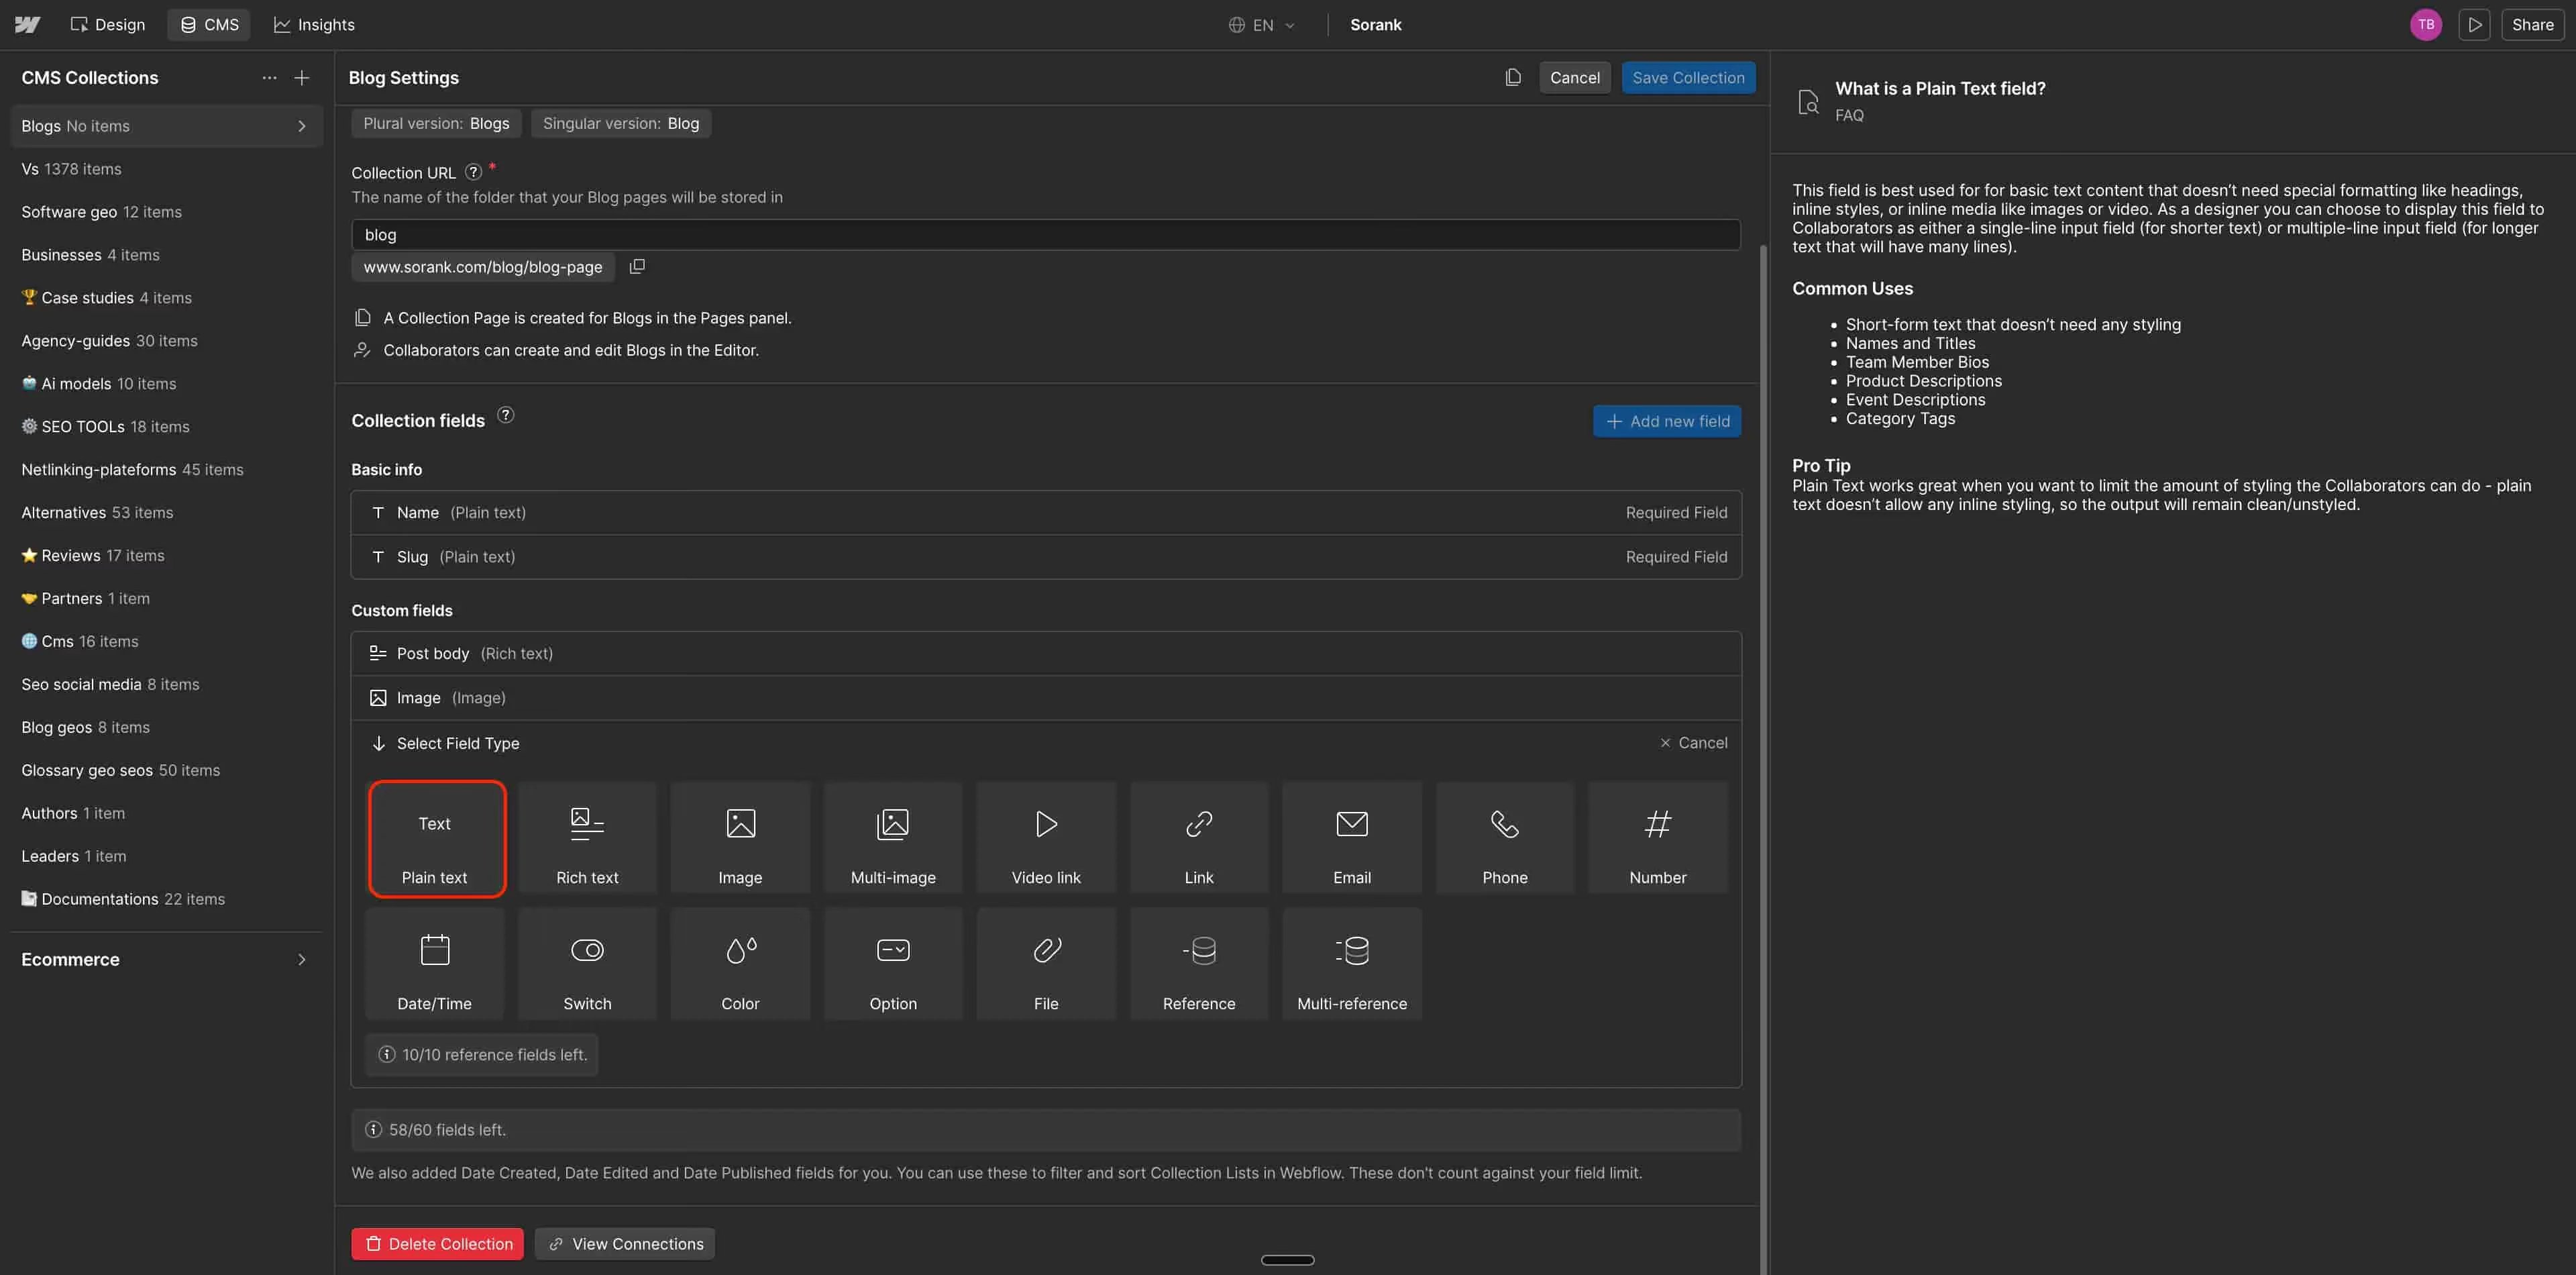
Step 4: Configure SEO Settings on the Blog Template Page
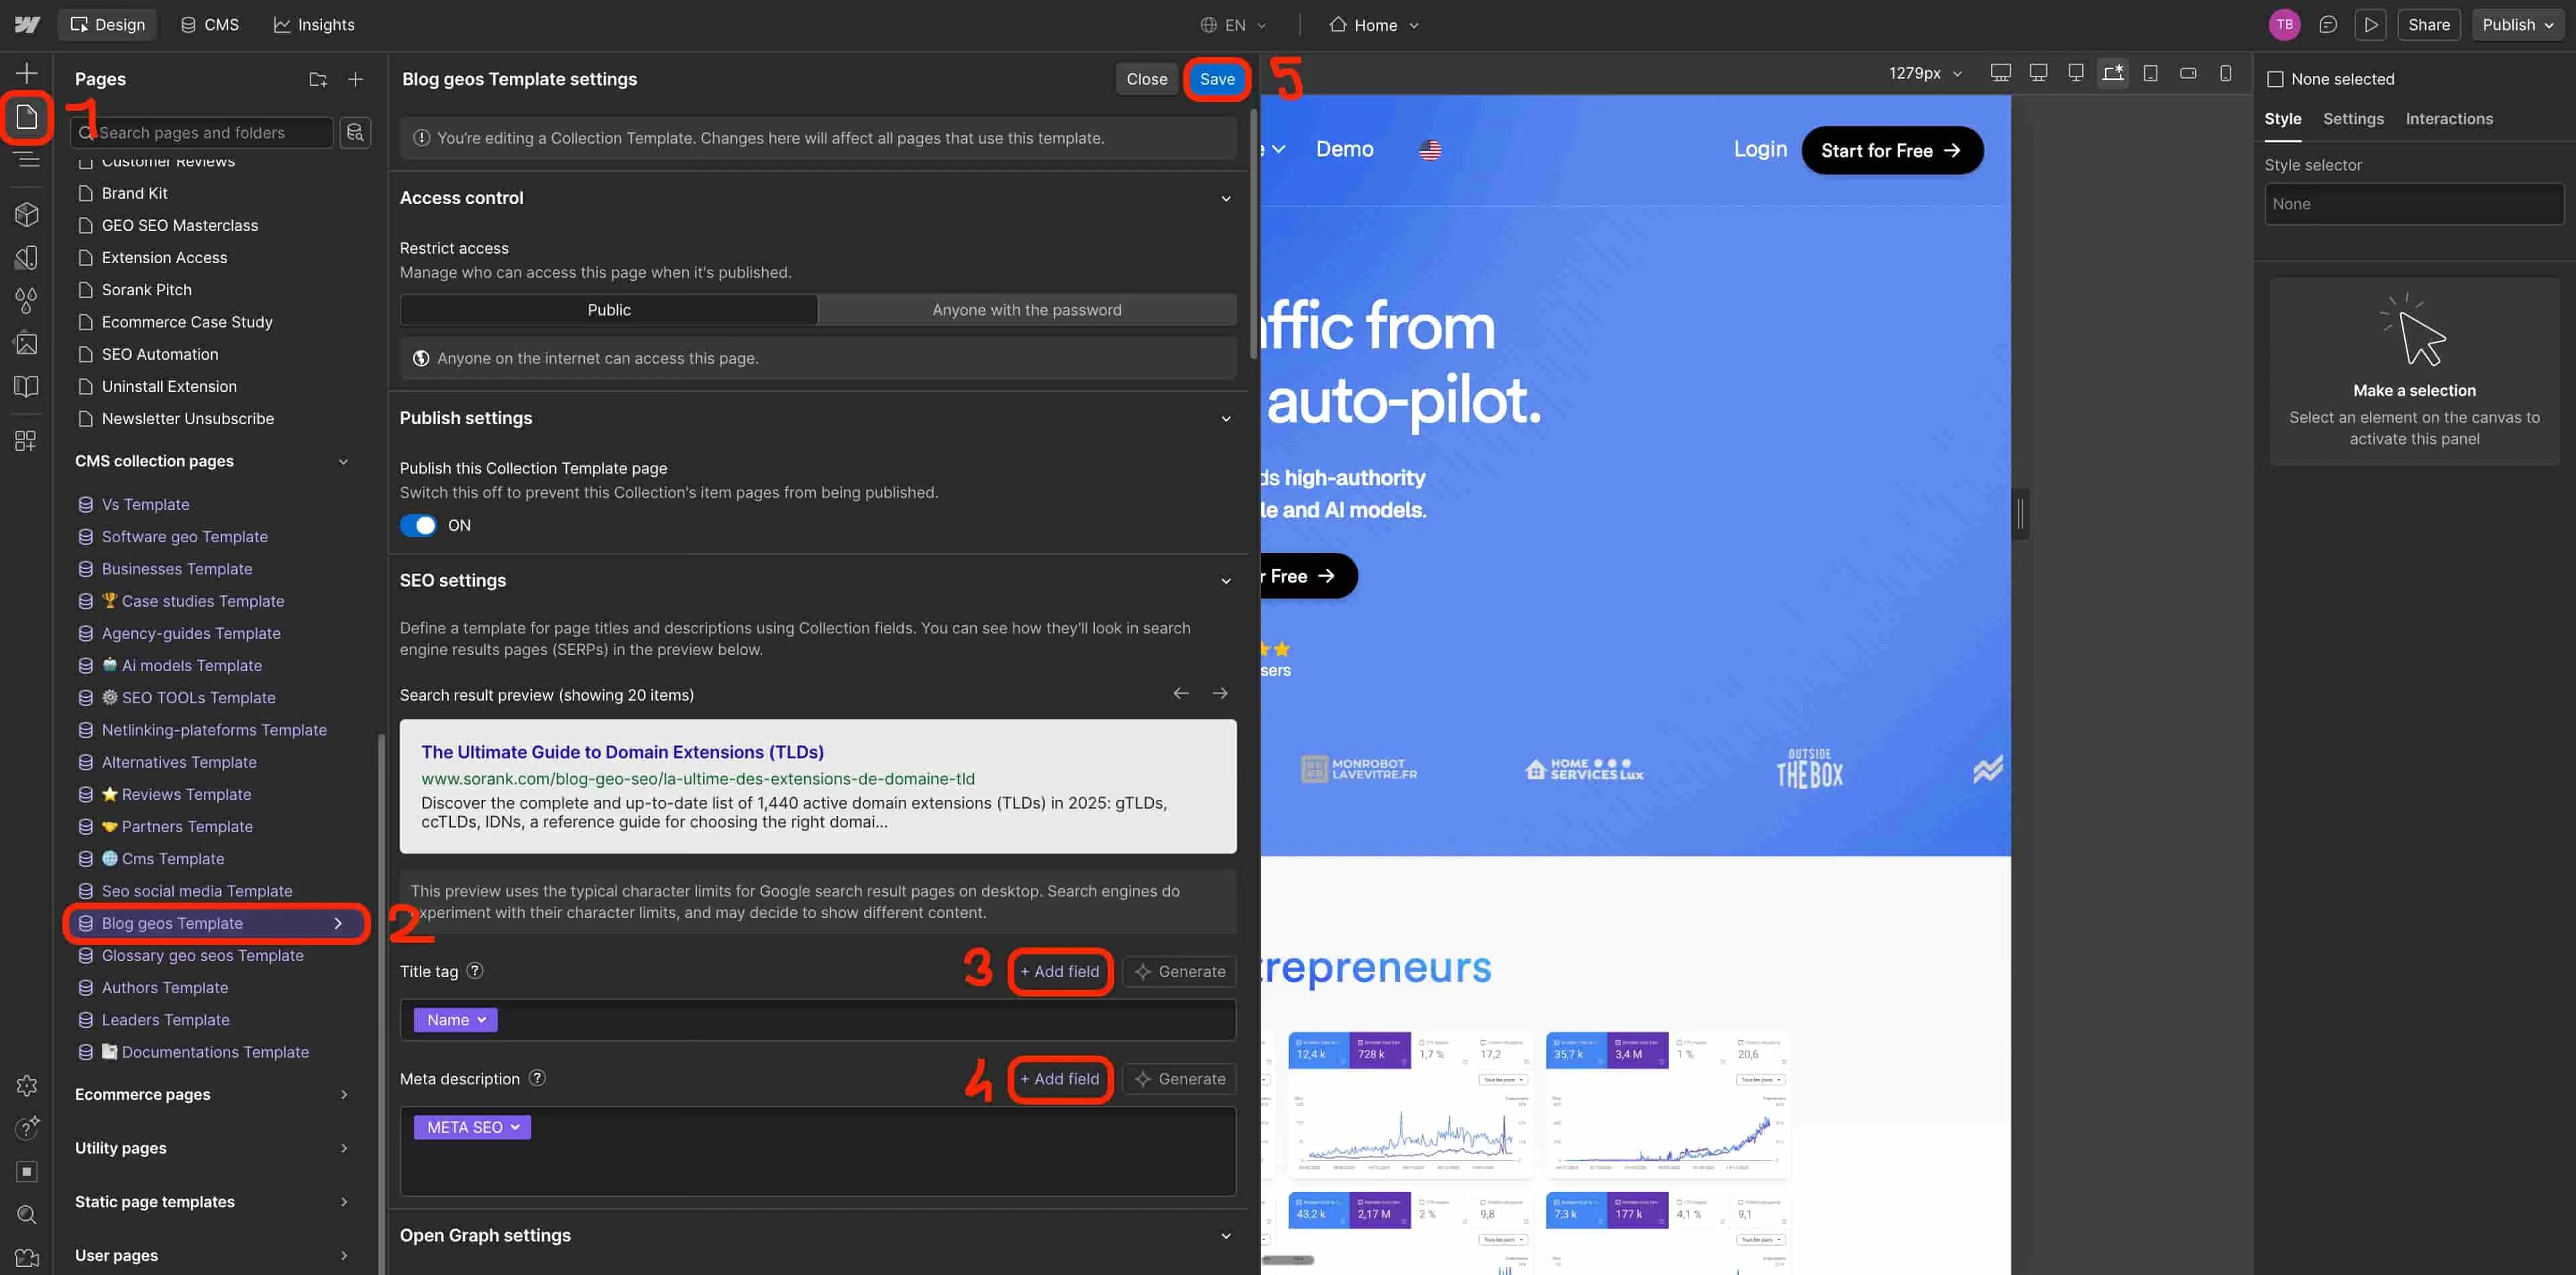
Click the Pages icon in the top-left of the Designer. Under “CMS collection pages”, click Blog geos Template. In the right panel, go to Settings. Scroll down to SEO settings.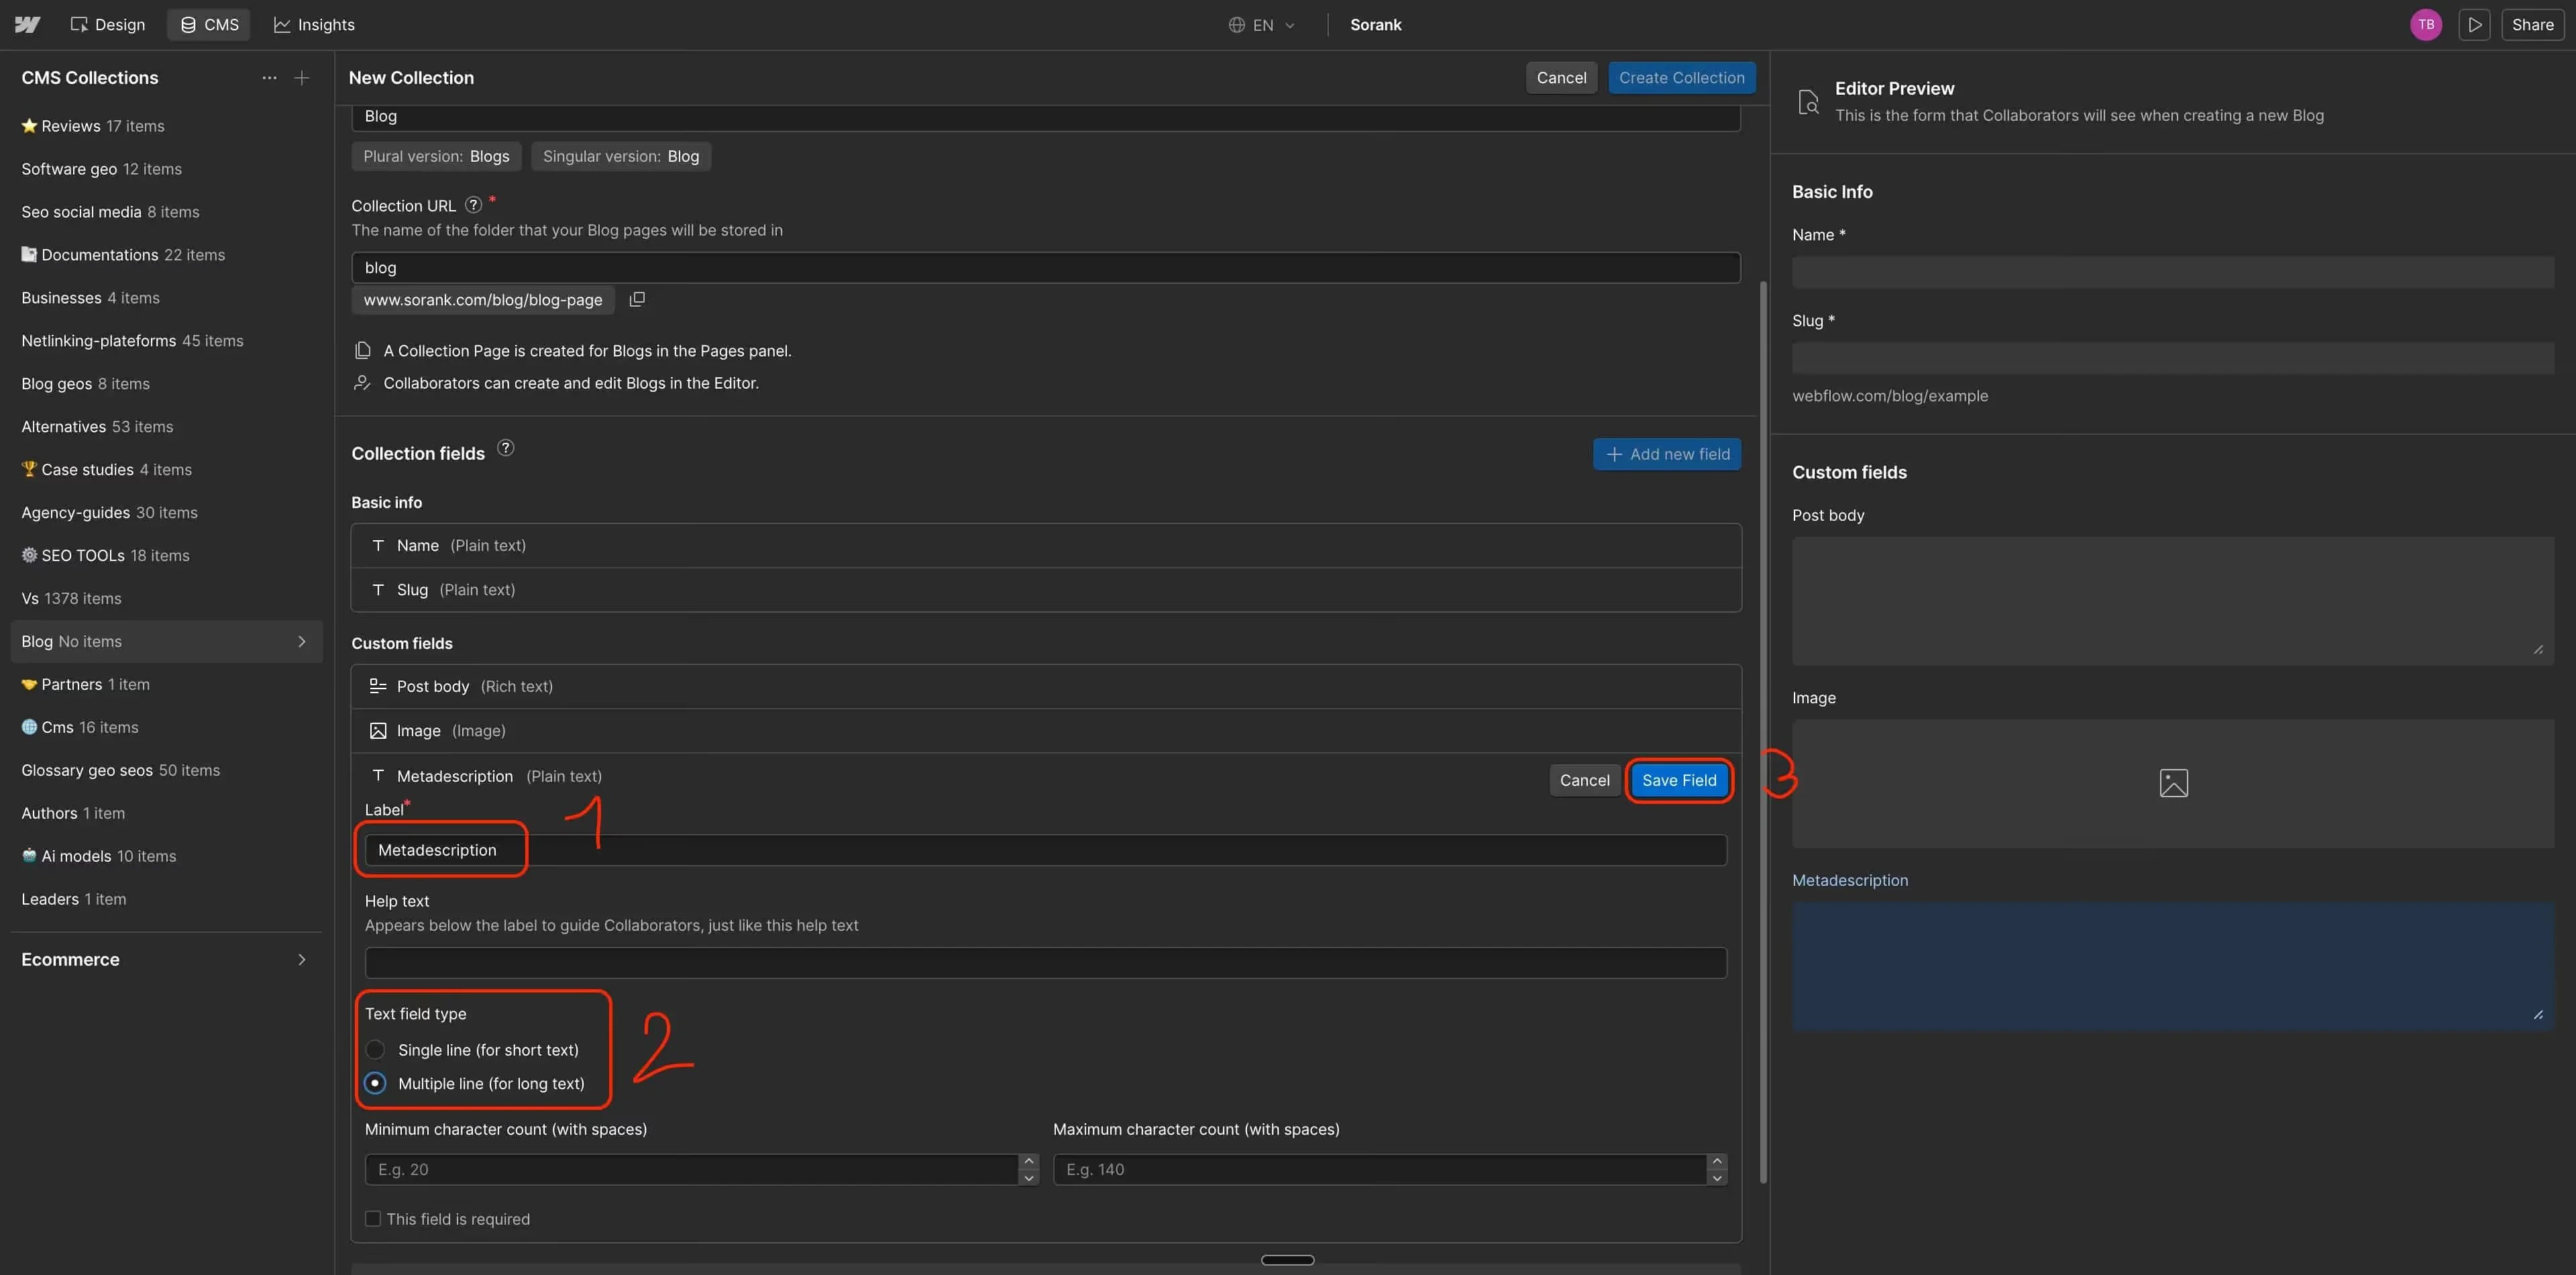
Title tag
Click + Add field and select Name.Meta description
Click + Add field and select META SEO. Click Save.